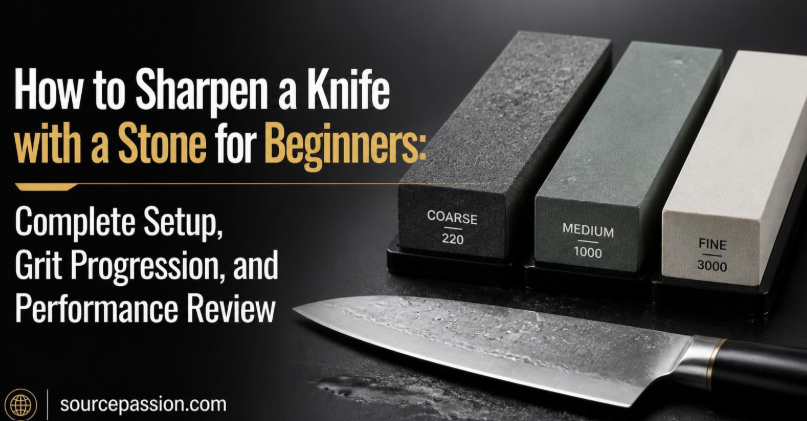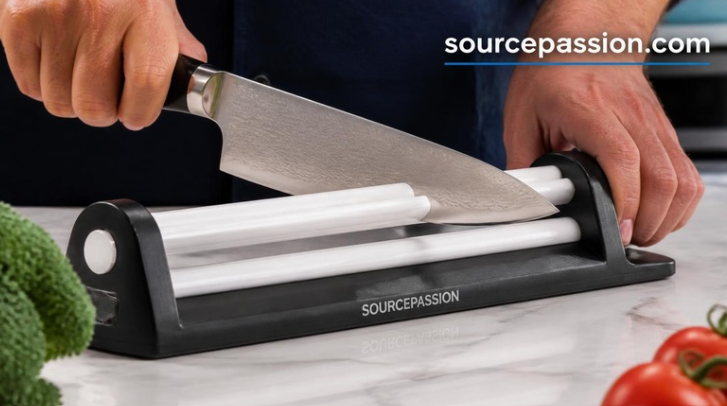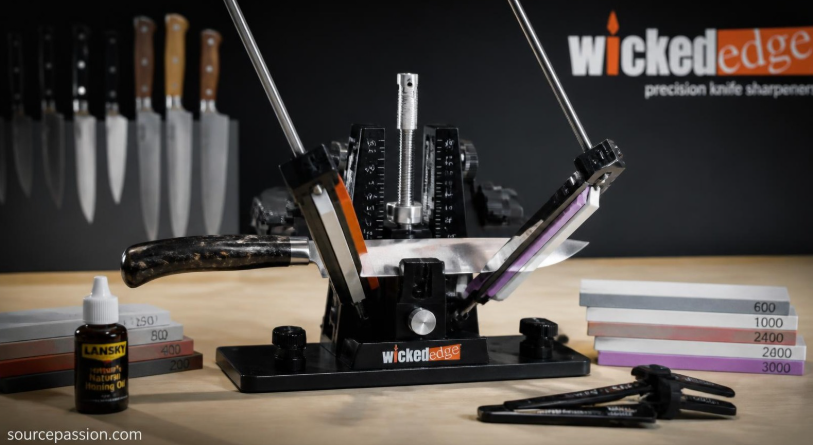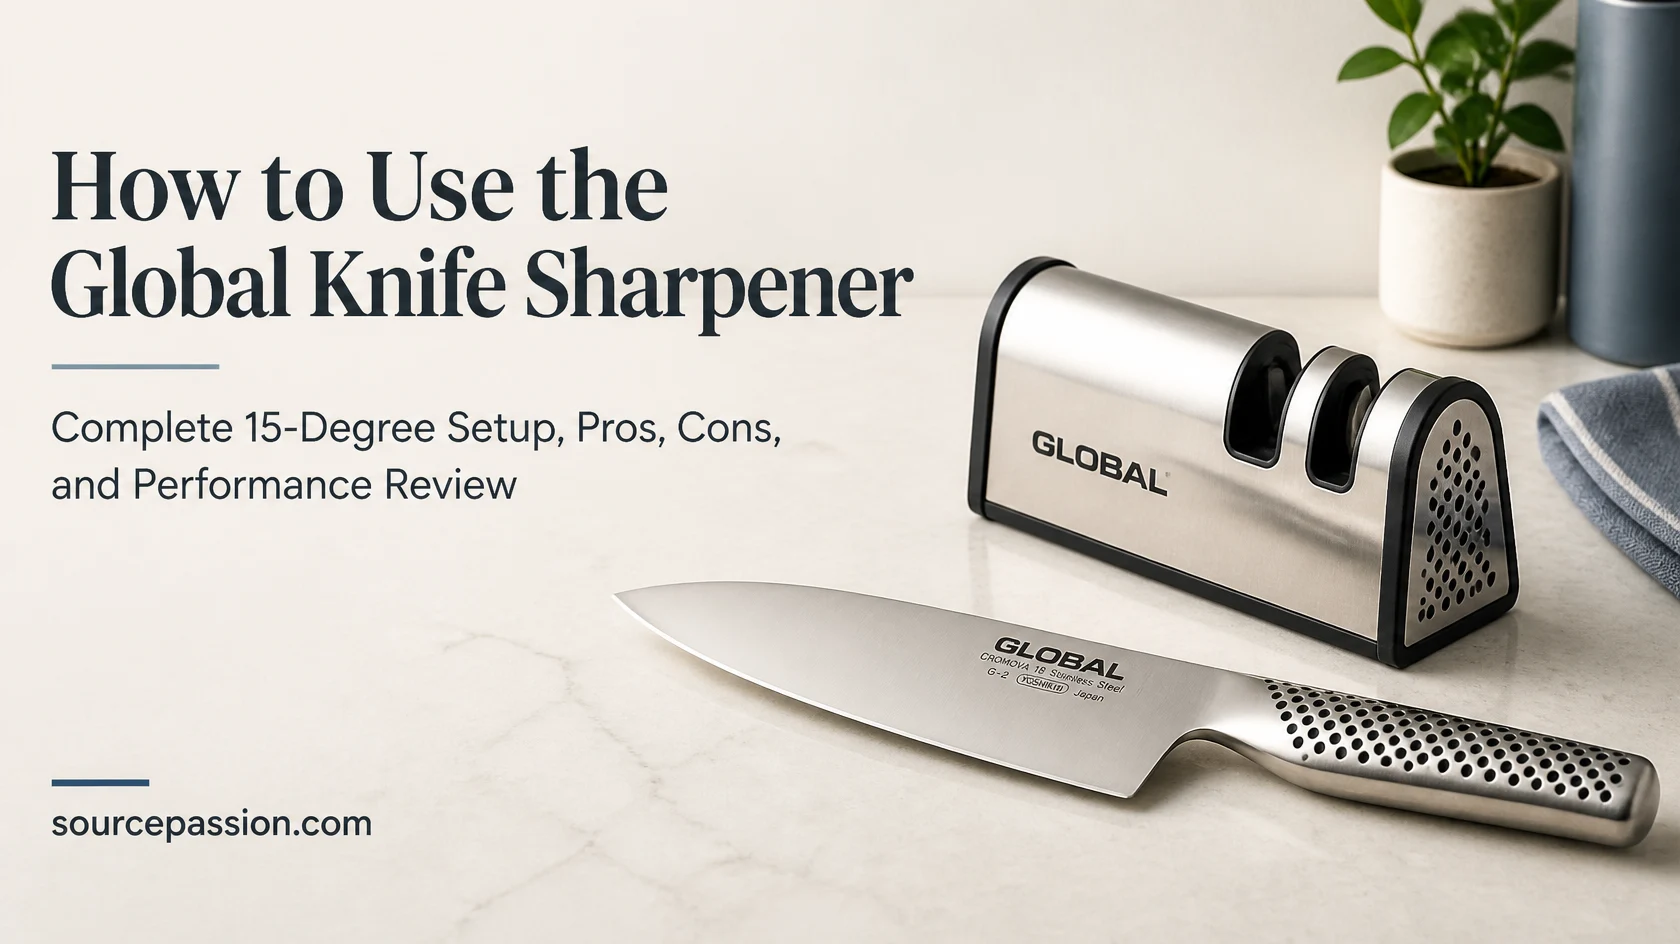
A sharp kitchen knife makes food preparation safer, faster, and more enjoyable. Whether you are slicing tomatoes, trimming meat, chopping vegetables, or preparing delicate garnishes, a properly maintained blade gives you greater control and more consistent results. However, keeping a knife sharp requires the right tools, a suitable sharpening angle, and a little knowledge about blade maintenance.
Global knives are popular among home cooks and professional chefs for their lightweight construction, distinctive stainless-steel handles, and sharp cutting edges. Their relatively acute factory edge also means that choosing an appropriate sharpening method matters. A sharpener designed for a different edge angle or blade geometry may not deliver the results you expect.
This is where a Global knife sharpener can be useful. Depending on the model, a dedicated sharpener may offer a guided sharpening angle, abrasive wheels, or another system designed to simplify routine blade maintenance. Understanding how the sharpener works—and whether it is appropriate for your particular knife—is essential before getting started.
In this comprehensive guide, we explain how to set up and use a Global knife sharpener, what a 15-degree sharpening angle means, how to evaluate sharpening performance, and which advantages and disadvantages to consider before buying one. We also cover common mistakes, practical maintenance tips, and alternatives for different sharpening needs.
Important note: Global sells different sharpening products, and not every sharpener uses the same mechanism or adjustment system. This guide focuses on the principles of maintaining Global-style kitchen knives at approximately 15 degrees per side. Always follow the instructions for your exact sharpener model rather than assuming that every model has an adjustable 15-degree setting.
What Is a Global Knife Sharpener?

BUY NOW IN AMAZON
A Global knife sharpener is a tool used to restore or maintain the cutting performance of kitchen knives. Dedicated sharpeners may use ceramic abrasive rods, sharpening wheels, or other abrasive surfaces to remove small amounts of metal and refine the blade’s edge.
The purpose of sharpening is to create a narrow, effective cutting edge. With regular use, contact with cutting boards, food, and other surfaces gradually wears or deforms that edge. Sharpening removes material to re-establish the geometry needed for effective cutting.
It is helpful to distinguish sharpening from honing:
- Sharpening removes metal to create a new cutting edge.
- Honing realigns or refines a slightly misaligned edge, depending on the tool and blade steel.
- Polishing reduces scratches and refines the surface finish of an edge or bevel.
Some tools marketed as sharpeners perform more than one of these functions, but the terms are not interchangeable.
Why Global Knives Need the Right Sharpening Method

Global knives are made from stainless steel and are known for their relatively thin blades and acute cutting edges. Many conventional Global kitchen knives use an edge geometry associated with approximately 15 degrees per side, although the exact geometry varies by model and should not be assumed for every knife in the range.
An acute edge can cut efficiently because it creates a relatively small wedge behind the cutting edge. However, a thin edge may be less tolerant of twisting, hard impacts, and unsuitable cutting surfaces than a more robust edge.
Choosing a compatible sharpening system helps preserve the intended blade geometry instead of repeatedly grinding a substantially different angle into the knife.
Understanding the 15-Degree Knife Sharpening Angle

The sharpening angle is one of the most important factors affecting cutting performance, edge durability, and maintenance requirements.
For a typical double-bevel kitchen knife, the angle is measured between one side of the blade’s bevel and the sharpening surface or reference plane, according to the sharpening system’s design.
A 15-degree angle per side means the knife has a total included edge angle of approximately 30 degrees.
<text>Simple angle reference</text>
| Sharpening geometry | Approximate included angle | General characteristics |
|---|---|---|
| 10° per side | 20° | Very acute edge; potentially less durable |
| 15° per side | 30° | Balanced cutting efficiency and everyday durability |
| 20° per side | 40° | More robust edge for some general-purpose knives |
| 25° per side | 50° | Relatively durable geometry, depending on the blade |
These figures describe simplified double-bevel geometries, not universal manufacturer specifications. Actual cutting performance also depends on steel quality, heat treatment, blade thickness, bevel shape, and sharpening technique.
Why a 15-Degree Edge Can Work Well
A 15-degree-per-side edge offers a useful compromise for many kitchen tasks. Its relatively acute geometry helps the knife pass through food with less resistance than a thicker edge of comparable design.
The benefits may include:
- Cleaner slices through tomatoes and other soft produce.
- Efficient cutting through onions, herbs, and many vegetables.
- Less wedging when slicing suitable boneless meats.
- A familiar edge profile for compatible Japanese-style kitchen knives.
However, an acute edge is not automatically the best choice for every task. Cutting through bones, frozen food, hard squash with excessive force, or other demanding materials can damage a fine edge.
Does Every Global Knife Have a 15-Degree Edge?
No. Knife models, production specifications, previous sharpening work, and blade condition can all affect the existing edge.
Before sharpening, consult the documentation for your specific knife and sharpener. If the knife has previously been sharpened at a substantially different angle, restoring its original geometry may require more work than routine maintenance.
Avoid forcing a particular angle simply because it is commonly associated with the brand.
How to Set Up a Global Knife Sharpener
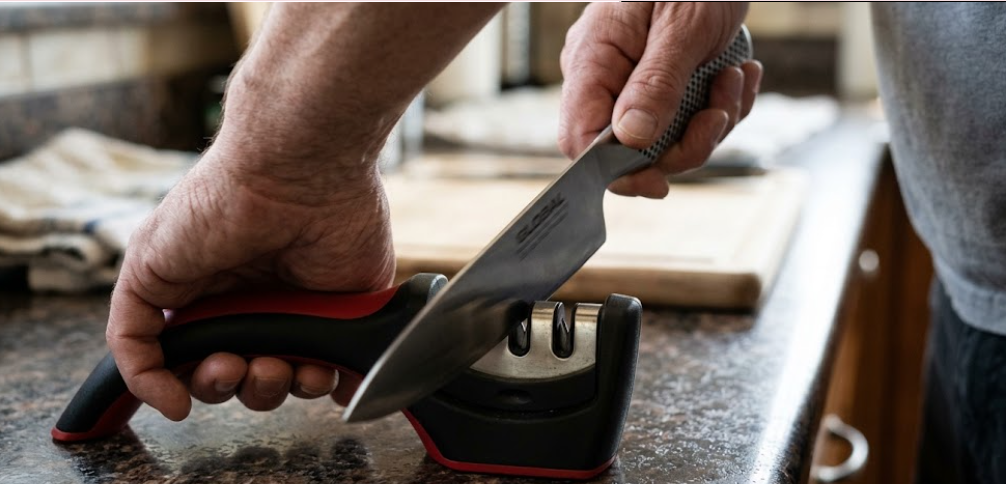
BUY NOW IN AMAZON
Before using your sharpener, identify its model and determine whether it uses a fixed angle, an adjustable guide, or a different sharpening mechanism.
A guided sharpener may make angle control easier, but it cannot eliminate the need for correct technique. Even a well-designed tool can produce a poor result if the blade is positioned incorrectly or excessive pressure is applied.
Step 1: Identify the Sharpener and Check Compatibility
Read the manufacturer’s instructions and inspect the sharpener for signs of wear or damage.
Confirm the following:
- The sharpener is suitable for your knife type.
- The abrasive material is appropriate for the blade.
- Any water, cleaning, or lubrication requirements are understood.
- The recommended sharpening angle is compatible with the knife.
- The sharpening mechanism is clean and operates correctly.
Do not assume that a sharpener is suitable for every Global model simply because it carries the same brand name.
Step 2: Prepare a Stable Work Area
Place the sharpener on a clean, dry, stable work surface unless its instructions specify another arrangement.
If the sharpener has a nonslip base, ensure that it is making full contact with the counter. Keep the area clear of food, loose utensils, and other objects that could interfere with your movements.
Wash and dry the knife before sharpening. Grease, food residue, and debris can interfere with handling and contaminate the abrasive surfaces.
Step 3: Establish the Correct Angle
If your sharpener has a fixed guide, use the angle specified by the manufacturer. If it is adjustable, select the setting recommended for your particular knife.
For a compatible double-bevel Global kitchen knife, approximately 15 degrees per side may be appropriate, but verify this against the relevant product instructions.
Do not confuse a sharpener’s displayed angle with the total included angle of the finished edge. Some systems describe the angle per side, while others may describe the overall geometry differently.
Step 4: Position the Knife Correctly
Hold the knife by its handle with a secure grip. Keep your fingers away from the blade and abrasive mechanism.
Place the blade into the designated sharpening slot or against the abrasive surface according to the tool’s instructions. Keep the blade aligned with the guide rather than twisting it from side to side.
The heel, middle, and tip of the blade may require slightly different hand movements to maintain consistent contact.
Step 5: Use Controlled, Consistent Strokes
Move the blade through the sharpening mechanism using smooth, controlled movements. Follow the specified direction and stroke count.
Do not force the knife through the sharpener. Excessive pressure can remove too much metal, damage the abrasive mechanism, or produce an inconsistent bevel.
If the sharpener is designed to work with water, use only the amount and type specified by the manufacturer. If it is designed for dry operation, do not introduce water without checking the instructions.
Step 6: Maintain Consistency Along the Blade
A common problem is sharpening the heel and middle of the blade while neglecting the tip.
Use the technique recommended for your sharpener to ensure that the abrasive contacts the intended cutting edge along its length. Avoid pressing down on the tip or allowing it to catch in a wheel or slot.
If the blade has a curved profile, follow that curve gradually rather than trying to keep every section at an identical physical orientation.
Step 7: Inspect the Edge and Test Carefully
Clean away metal particles and abrasive residue as directed by the manufacturer. Dry the knife thoroughly if water has been used.
Inspect the edge under good lighting. Look for visible chips, reflections from a rolled edge, or sections that appear inconsistent.
For a basic cutting test, use a sheet of paper or a suitable piece of food on a stable cutting board. Keep your fingers clear of the cutting path.
Never test sharpness by running a finger along the edge or pressing the blade against your skin.
If the knife remains dull after a reasonable sharpening session, stop and reassess the technique, sharpener compatibility, and blade condition instead of applying progressively greater force.
Global Knife Sharpener Performance Review

A useful performance review should evaluate more than how sharp a knife feels immediately after sharpening. It should consider cutting efficiency, consistency, ease of use, edge durability, maintenance, and the amount of metal removed during the process.
Because Global sharpeners differ by model, the following assessment describes the practical strengths and limitations of guided and manual sharpening systems. It is not a laboratory test of a single product, and it should not be interpreted as a verified score for every Global sharpener.
1. Cutting Performance
The most noticeable benefit of a properly sharpened knife is reduced resistance during cutting.
A sharp blade should move through suitable food without requiring excessive downward force. This is particularly noticeable when slicing tomatoes, cutting herbs, or making thin vegetable slices.
However, a sharp edge is only one part of the equation. Blade thickness, edge finish, and the food being cut also influence performance.
Performance assessment: A compatible sharpener can restore useful cutting performance when the edge is worn or dull. Results depend on the blade’s condition, abrasive quality, and operator technique.
2. Ease of Use
Guided sharpeners are generally easier for beginners than freehand sharpening stones because they reduce the need to control the angle entirely by hand.
This can make routine maintenance more accessible to people who cook regularly but do not want to learn advanced sharpening techniques.
Nevertheless, ease of use depends on the design. A manual sharpener may require more coordination than an electric system, while a sharpening stone demands practice but provides greater flexibility.
Performance assessment: Guided systems can be convenient for routine maintenance, particularly when the user follows the manufacturer’s instructions and works with a compatible knife.
3. Edge Consistency
Maintaining a consistent bevel helps create a predictable cutting edge. Guided systems can reduce variation, although they do not guarantee a perfectly uniform result.
Uneven pressure, incorrect blade positioning, and inconsistent movement can still produce uneven sharpening.
Performance assessment: A guide is helpful, but careful technique remains essential.
4. Edge Retention
Edge retention describes how long an edge remains effective during use. It depends on steel composition, heat treatment, edge geometry, cutting technique, and the materials being cut.
A sharpener cannot permanently improve the fundamental wear resistance of a knife’s steel. It can restore the edge, but the knife will gradually become dull again.
A very acute edge may cut efficiently but can be more vulnerable to damage under demanding conditions. A slightly more robust geometry may last longer in some applications, although this depends on the specific blade.
Performance assessment: Correct sharpening can improve immediate performance, but long-term edge retention depends on more than the sharpener alone.
5. Metal Removal and Blade Longevity
Sharpening necessarily removes some metal. The amount depends on the abrasive, the condition of the blade, and the sharpening technique.
Aggressive abrasives are useful for repairing damaged or very dull edges, but they can remove more material than necessary during routine maintenance.
For this reason, avoid repeatedly using a coarse sharpening stage when a finer stage or a less aggressive maintenance method would be sufficient.
Performance assessment: A controlled sharpening process can help preserve blade life. Unnecessary grinding, however, gradually changes blade geometry and shortens the knife’s usable lifespan.
Pros and Cons of a Global Knife Sharpener
No sharpening tool is ideal for every user. The right choice depends on the condition of the knife, the user’s experience, the frequency of cooking, and the desired level of control.
Advantages
- Convenient maintenance: A compatible sharpener can make routine blade care easier.
- Guided angle control: Some designs reduce the difficulty of maintaining a consistent bevel.
- Improved cutting efficiency: Restoring a worn edge can make everyday food preparation easier.
- Reduced learning curve: Guided systems can be more approachable than freehand sharpening stones.
- Potentially consistent results: Correct positioning and controlled strokes help reduce avoidable variation.
- Suitable for home kitchens: A straightforward manual system may be practical for cooks who maintain their knives regularly.
Disadvantages
- Model-specific compatibility: Not every sharpener is appropriate for every knife or edge geometry.
- Limited angle flexibility: Fixed-angle systems may not suit knives that require a different bevel.
- Risk of excess metal removal: Aggressive or unnecessary sharpening can shorten blade life.
- Technique still matters: Poor positioning or excessive pressure can produce uneven results.
- Limited repair capability: Minor dullness and serious chips require different approaches.
- Ongoing maintenance: Abrasives wear out, and sharpening mechanisms need appropriate cleaning.
Quick Comparison: Global Sharpener vs. Other Sharpening Methods
| Feature | Guided manual sharpener | Whetstone | Electric sharpener |
|---|---|---|---|
| Learning curve | Generally low to moderate | Moderate to high | Generally low |
| Angle control | Guided, depending on model | User-controlled or guided by technique | Depends on the design |
| Portability | Usually good | Good, depending on size | Usually limited by power requirements |
| Repairing major damage | Limited on many models | Possible with suitable abrasives and skill | Depends on the model |
| Metal removal | Depends on abrasive and technique | Depends on grit and technique | Depends on abrasive and settings |
| Best suited to | Routine maintenance | Flexible sharpening and edge refinement | Convenient, repeatable sharpening |
The table describes general characteristics, not universal performance guarantees. High-quality whetstones, for example, can be used by beginners, while some electric sharpeners offer sophisticated angle control.
Common Mistakes When Using a Global Knife Sharpener
Even a good sharpening tool can produce disappointing results when used incorrectly. Avoiding a few common mistakes can improve consistency and help protect your knife.
Using the Wrong Angle
Sharpening at an unsuitable angle can change the blade’s intended geometry. If the angle is too obtuse, the knife may feel less efficient when cutting. If it is too acute for the steel and intended use, the edge may become more vulnerable to damage.
Better approach: Check the knife and sharpener documentation before selecting an angle.
Applying Excessive Pressure
Pressing harder does not necessarily sharpen a knife faster or better. Excessive pressure can increase abrasion, create inconsistent contact, and damage some sharpening systems.
Better approach: Use controlled strokes and the pressure recommended by the manufacturer.
Sharpening a Knife Too Frequently
Repeated sharpening removes metal even when the edge needs only minor maintenance.
Better approach: Assess cutting performance regularly and sharpen when necessary rather than following an arbitrary daily or weekly schedule.
Ignoring Chips and Rolled Edges
A slightly dull knife and a chipped knife are not the same problem. Minor dullness may be resolved with routine sharpening, while substantial chips require more material removal and may need professional attention.
Better approach: Inspect the edge before sharpening. Seek professional service for serious damage if you are unfamiliar with blade repair.
Using the Knife on Unsuitable Surfaces
Glass, stone, ceramic, and metal cutting surfaces can accelerate edge wear. Twisting the blade while it is embedded in food can also damage a thin edge.
Better approach: Use a suitable wooden or plastic cutting board, avoid prying with the blade, and keep the knife away from frozen food and bones unless it is specifically designed for those tasks.
Maintenance Tips for Better Sharpening Results
Proper knife care reduces unnecessary wear and helps maintain predictable cutting performance.
Clean the Sharpener Correctly
Follow the manufacturer’s cleaning instructions. Remove metal particles and food debris without damaging the abrasive surface or sharpening mechanism.
Do not immerse a sharpener in water unless the instructions explicitly allow it.
Store Knives Safely
Use a knife block, protective sheath, suitable drawer insert, or magnetic rack installed correctly. Preventing the edge from contacting other utensils helps reduce accidental damage.
Use a Suitable Cutting Board
Wood and appropriate plastic boards are generally preferable to very hard surfaces. A softer cutting surface can help reduce impact-related edge wear.
Dry the Knife After Washing
Even stainless steel can develop staining or corrosion under unfavorable conditions. Wash the knife according to the manufacturer’s guidance, dry it promptly, and avoid leaving it soaking in a sink.
Separate Routine Maintenance from Repairs
Minor dullness may be manageable with an appropriate sharpening system. Deep chips, bent tips, or severe edge damage may require a more specialized repair method.
Do not continue grinding a damaged blade without understanding how much material must be removed.
Is the Global Knife Sharpener Worth Buying?( BUY NOW IN AMAZON)
Whether a Global knife sharpener represents good value depends on the particular model and your existing knives.
For someone who regularly uses compatible Global kitchen knives, a suitable guided sharpener can offer convenience and make routine edge maintenance less intimidating. This is particularly useful for home cooks who want to maintain cutting performance without mastering freehand sharpening.
However, buyers should verify the sharpener’s exact mechanism, recommended angle, abrasive type, and compatibility before purchasing it. The Global name alone does not establish that a particular model is the best choice for every knife.
A whetstone may be more appropriate for someone who wants greater control over bevel geometry, while a professional sharpening service may be the better option for a badly damaged or unusually shaped blade.
Who Should Consider It?
A compatible Global sharpener may suit:
- Home cooks who regularly prepare meals.
- Owners of compatible kitchen knives seeking convenient maintenance.
- Beginners who prefer guided sharpening.
- Users who want a straightforward alternative to learning freehand stone sharpening.
Who Might Prefer Another Option?
An alternative may be preferable for:
- Experienced sharpeners who want precise control over edge geometry.
- Owners of knives with specialized or unusually shaped edges.
- People repairing significant chips or damaged tips.
- Users who maintain a wide variety of knives requiring different sharpening angles.
Overall verdict: A Global knife sharpener can be a practical maintenance tool when its design matches the knife being sharpened. The most important considerations are compatibility, appropriate edge geometry, controlled technique, and avoiding unnecessary metal removal. Without the exact sharpener model and a controlled comparison, claims that it is faster, more durable, or sharper than competing products would be premature.
Practical Sharpening Checklist
Use this checklist before and after each sharpening session.
- Confirm the sharpener is compatible with the knife.
- Check the recommended sharpening angle.
- Clean and inspect the blade.
- Secure the sharpener on a stable surface.
- Keep fingers away from the edge and sharpening mechanism.
- Follow the specified stroke direction and pressure.
- Avoid unnecessary passes with coarse abrasives.
- Remove residue and dry the knife appropriately.
- Test cutting performance safely.
- Store the knife so the edge is protected.
Key Takeaways
- A 15-degree-per-side edge has an approximate included angle of 30 degrees.
- Not every Global knife or sharpener necessarily uses the same sharpening geometry.
- Guided sharpening can make routine maintenance easier, but correct technique still matters.
- Excessive pressure and unnecessary sharpening can shorten blade life.
- A sharp knife should be maintained with appropriate cutting surfaces, safe storage, and regular inspection.
- Serious chips and damaged tips may require specialized sharpening or professional repair.
- The exact model’s instructions should take priority over generalized sharpening advice.
Frequently Asked Questions
1. What angle should I use to sharpen a Global kitchen knife?
Approximately 15 degrees per side is associated with many Global kitchen knives, but the correct angle depends on the specific knife model and its existing edge. Check the manufacturer’s instructions before sharpening. Some sharpeners use different angle conventions, so distinguish the per-side angle from the total included angle.
2. Can I use a Global knife sharpener on other brands?
Possibly. Compatibility depends on the sharpener’s design, the knife’s edge geometry, and any manufacturer restrictions. Check the instructions before using it on another brand, particularly if the knife has a single-bevel, serrated, or unusually shaped edge.
3. How often should I sharpen my Global knife?
There is no universal schedule. Frequency depends on how often you cook, what you cut, the cutting surface, and how well the knife is maintained. Sharpen when cutting performance has noticeably declined, and avoid removing metal unnecessarily.
4. Is a 15-degree edge sharper than a 20-degree edge?
Not automatically. A 15-degree-per-side edge is more acute than a 20-degree-per-side edge, but sharpness also depends on how finely the edge is formed and finished. A well-sharpened 20-degree edge can outperform a poorly sharpened 15-degree edge.
5. Can a Global sharpener repair a chipped blade?
That depends on the sharpener and the severity of the damage. Minor defects may be manageable with suitable sharpening equipment, but substantial chips require additional material removal and careful reshaping. A professional sharpening service may be the safest option for serious damage.
6. Should I use water with a Global knife sharpener?
Only if the instructions for your exact model specify or permit water. Some sharpening systems are designed for wet operation, while others are intended to be used dry. Using the wrong method can interfere with performance or damage the mechanism.
7. Is a Global knife sharpener better than a whetstone?
Neither option is universally better. A compatible guided sharpener can be easier for routine maintenance, while a whetstone offers greater flexibility for users who have developed sharpening skills. The best option depends on your experience, knife collection, and maintenance requirements.
Conclusion
A properly sharpened kitchen knife makes everyday cooking more efficient and controlled. For compatible Global knives, a sharpener designed around the intended edge geometry can simplify routine maintenance and help restore cutting performance.
The key is to understand the sharpening angle, identify the correct equipment, use controlled strokes, and avoid removing more metal than necessary. Although a 15-degree-per-side edge can offer an effective balance between cutting efficiency and durability, the ideal geometry depends on the knife’s design and intended use.