A dull kitchen knife is an unpredictable and hazardous tool. When an apex loses its micro-alignment, it stops parting proteins and produce cleanly. Instead, it crushes cellular walls in delicate herbs, tears through ripe tomato skins, and skids off waxy yellow onions. That loss of traction forces the cook to apply excessive downward muscle, inviting dangerous slips on the cutting board.
Yet, many knife owners assume that reviving a struggling edge always requires grinding away steel on aggressive coarse stones or running blades through motorized grinders. In reality, most edges that feel dull do not suffer from severe metal loss or deep chips; they simply have a rolled, micro-fatigued apex.
This is where the ceramic knife sharpener proves invaluable.
Whether crafted as a sleek cylindrical honing rod, a desktop V-crock stick system, or a dense synthetic waterstone, high-purity alumina ceramics bridge the gap between basic edge realignment and true abrasive sharpening.
Operating ceramic abrasives requires a solid understanding of fine-grit mechanics, proper hand pressure, angle consistency, and abrasive pore maintenance. Used incorrectly, a ceramic rod can chip brittle Japanese alloys or create an uneven bevel.
This comprehensive masterclass explores the material science of ceramic sharpeners, breaks down step-by-step workflows for rods and benchstones, details swarf cleaning procedures, and reviews objective cutting performance across various cutlery steels.
Material Science: How Sintered Alumina Ceramic Works
To use a ceramic sharpener effectively, it helps to understand what happens at the microscopic contact point between the abrasive surface and your blade’s edge.
The Difference Between Steel Rods and Ceramic Sharpeners
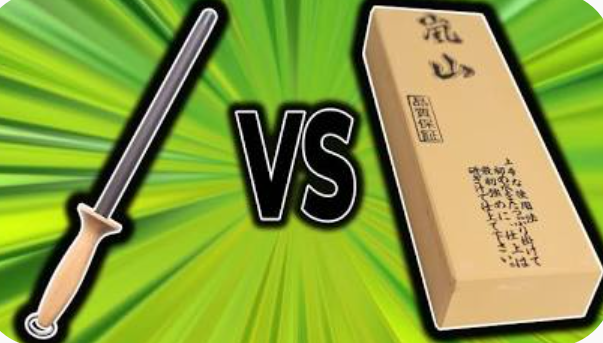
Many cooks treat ceramic rods as drop-in replacements for the metallic “butcher’s steel” found in knife blocks. However, their physical mechanisms are entirely different:
- The Traditional Steel Rod: Standard steel honing steels match or barely exceed the hardness of common Western kitchen knives (typically 58–62 HRC). They operate through plastic deformation: sliding a rolled apex against the hard steel nudges the bent teeth back upright. A steel rod does not sharpen; it realigns. If your blade has blunted or lost its apex entirely, a traditional steel rod will not restore its edge.
- The Ceramic Sharpener: Sintered ceramic sharpeners are composed of ultra-fine aluminum oxide ($\text{Al}_2\text{O}_3$) particles kiln-fired under intense heat and pressure. Ceramic sits at 9 on the Mohs hardness scale (yielding a Knoop hardness of approximately 2,000 to 2,200), outclassing any cutlery steel, including high-carbide Japanese alloys hardened to 64 HRC.
Because ceramic is harder than the steel matrix, it performs micro-abrasion alongside mechanical realignment. It cleans off fatigued metal burrs, refines the scratch pattern, and re-establishes a clean cutting apex without stripping off large amounts of steel.
Grit Classifications: Medium vs. Fine vs. Ultra-Fine
Ceramic sharpeners are typically categorized by their abrasive grade:
- Medium Ceramic (~600 to 800 Grit / ~15–20 Micron): Usually gray or dark brown. Contains larger crystal structures engineered for mild metal removal, setting a functional working bevel on dull blades, or touching up pocket knives.
- Fine Ceramic (~1000 to 1200 Grit / ~9–12 Micron): Typically white. The universal culinary standard. Balances gentle micro-abrasion with apex alignment, leaving an edge with enough tooth to bite into slick foods while slicing smoothly.
- Ultra-Fine Ceramic (~2000 to 3000+ Grit / ~3–5 Micron): Dense, pure-white porcelain-style ceramic. Used as a final pre-strop polishing stage to refine the bevel into a mirror finish, ideal for precision sashimi knives and straight razors.
Form Factors: Rods vs. V-Crock Sticks vs. Benchstones
Ceramic sharpeners come in three primary formats, each suited to different workspaces and skill levels:
1. The Handheld Ceramic Honing Rod
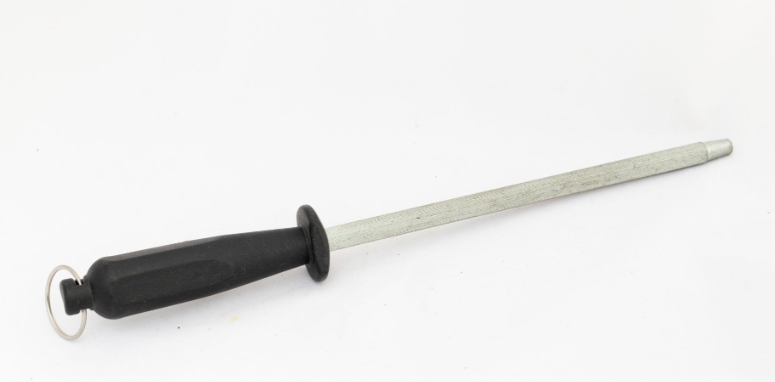
The most common ceramic tool in home and professional kitchens. Typically measuring 9 to 11 inches in length with an impact-resistant handle, it replaces metallic honing steels. It allows quick, 15-second touch-ups directly at the prep station before cutting meat or vegetables.
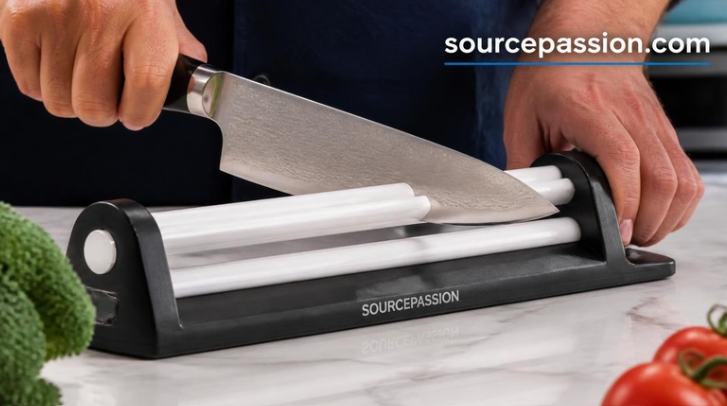
2. The V-Crock Stick System (e.g., Spyderco Tri-Angle Sharpmaker, Idahone)
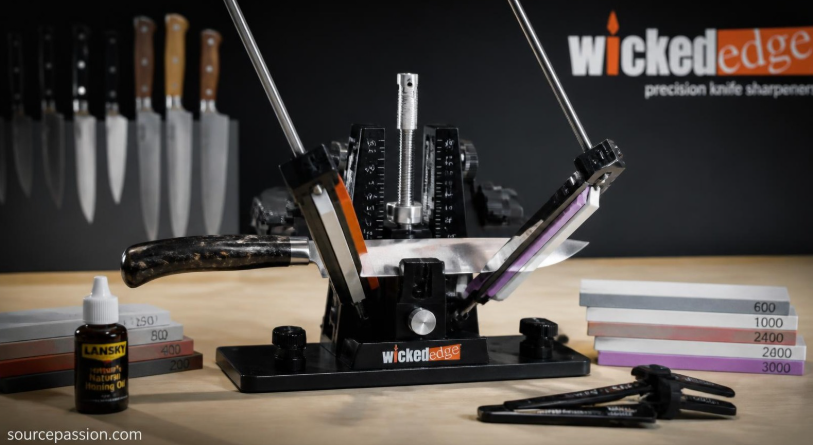
V-crock systems use two ceramic rods placed into pre-drilled holes in a stable wooden or polymer base. The base holds the rods at fixed inclusive angles—typically 30 degrees (15° per side) or 40 degrees (20° per side).
- The Key Advantage: You hold the knife blade vertically—straight up and down—and slice downward along the rod. This vertical motion eliminates manual angle estimation, making it a reliable option for beginners.
3. Sintered Ceramic Benchstones (e.g., Spyderco Ceramic Benchstones)
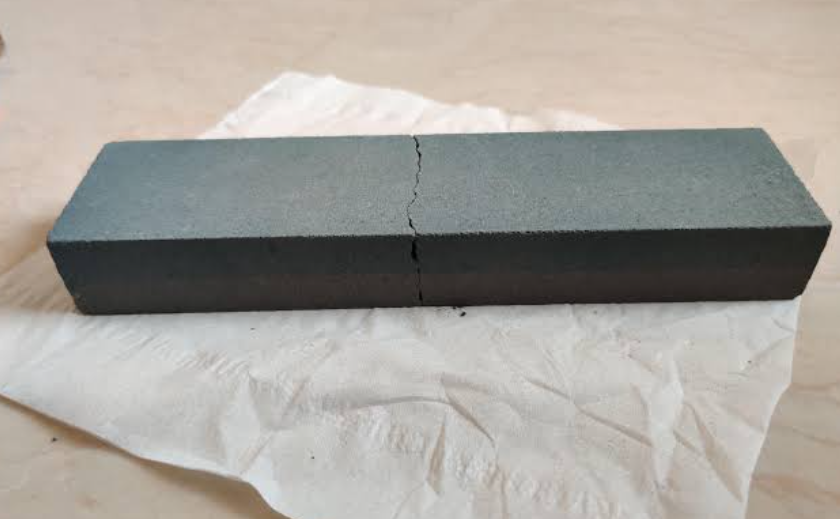
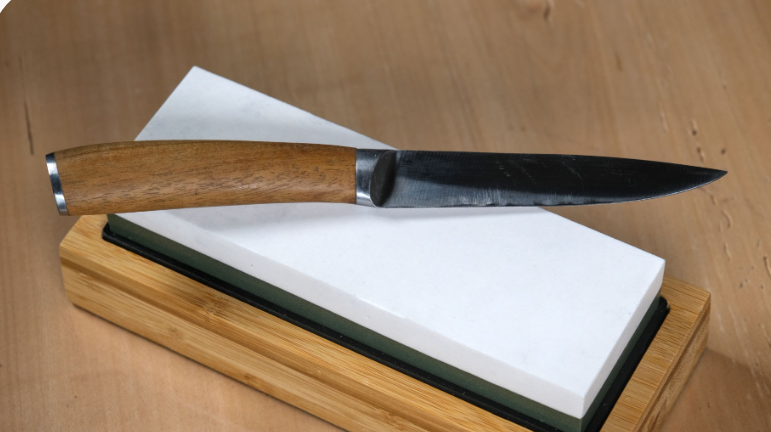
Unlike friable Japanese waterstones that shed loose grit to form a slurry, sintered ceramic benchstones are dense and non-friable. They can be used completely dry or with a splash of water, stay flat without dishing, and provide a stable surface for wide bevels, straight razors, and woodworking tools.
Angle Dynamics: Matching Your Knife to the Ceramic Abrasive
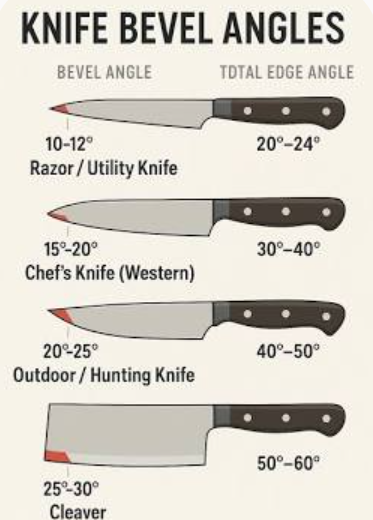
Before sharpening, you must identify your blade’s native bevel geometry. Because ceramics are non-yielding and abrasive, using the wrong angle can introduce an unwanted secondary micro-bevel:
       15-DEGREE ANGLE                         20-DEGREE ANGLE
   (Asian / Precision Slicers)             (Western / Heavy Duty)
            / \                                     /     \
           /   \                                   /       \
          /     \                                 /         \
         /  15°  \                               /    20°    \
        /         \                             /             \
       /           \                           /               \
   Japanese Steel (60+ HRC)                Western Steel (55-58 HRC)
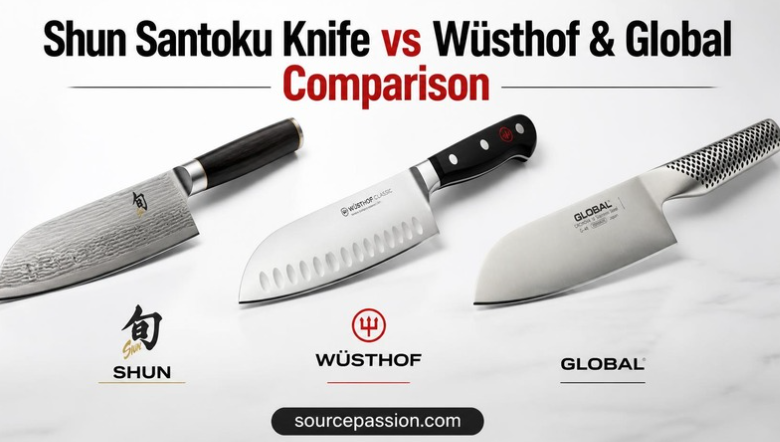
   Shun, Global, Miyabi, Gyuto             Wüsthof, Zwilling, Victorinox
+----------------------------------------------------------------------------------------------------+
|                                    ANGLE MATCHING MATRIX                                           |
+---------------------+-------------------+---------------------+------------------------------------+
| Cutlery Category    | Factory Bevel     | Recommended Angle   | Practical Performance Outcome      |
+---------------------+-------------------+---------------------+------------------------------------+
| **Japanese Cutlery**| 12° to 16°        | **15° Per Side**    | Preserves thin slicing profile;    |
| (VG-10, SG2, Paper) | (24°–32° Total)   |                     | cleanly parts fibrous produce.     |
+---------------------+-------------------+---------------------+------------------------------------+
| **Western Cutlery** | 18° to 22°        | **20° Per Side**    | Reinforces the cutting apex;       |
| (German Stainless)  | (36°–44° Total)   |                     | withstands bone strikes & hacking. |
+---------------------+-------------------+---------------------+------------------------------------+
| **EDC / Pocket**    | 20° to 25°        | **20° to 22°**      | Balances slicing performance with  |
| (S30V, MagnaCut)    | (40°–50° Total)   |                     | edge stability on rope & cardboard.|
+---------------------+-------------------+---------------------+------------------------------------+
Step-by-Step Instructions: The Safe Vertical Rod Method
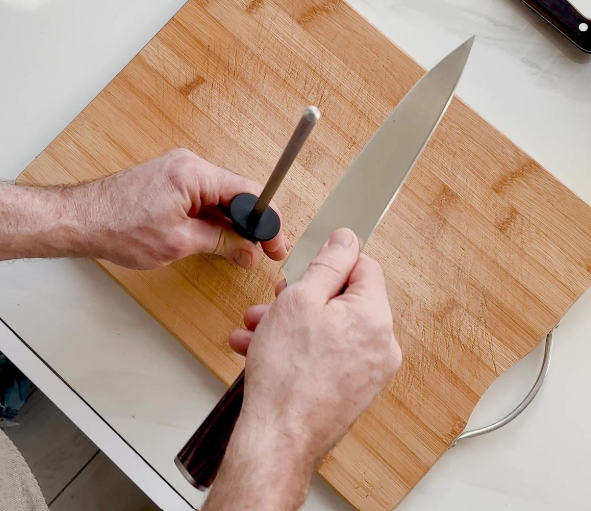
Many cooks use a floating mid-air stroke, waving the rod in one hand and the knife in the other. This unsupported stroke causes angle drift, increases the risk of the blade slipping toward your wrist, and leads to rounded edges.
The vertical anchored method is the safest, most repeatable way to use a ceramic honing rod.
Step 1: Anchor the Rod on a Stable Base
- Place a damp kitchen towel or non-slip silicone mat on your countertop.
- Rest a wooden or composite cutting board on top of the towel.
- Turn the ceramic rod vertical, placing the rubber protective tip firmly down onto the board.
- Hold the handle securely with your non-dominant hand. Keep your fingers tucked behind the safety guard flange.
Step 2: Establish Your Angle
- Hold the knife in your dominant hand with a relaxed, secure grip.
- Rest the heel of the blade against the top of the ceramic cylinder, just below the handle guard.
- Set your angle:
- For 90 Degrees: The blade sits perpendicular to the rod.
- For 45 Degrees: Halfway between horizontal and vertical.
- For 22.5 Degrees: Half of that angle.
- For 15 to 20 Degrees: Bring the blade spine slightly closer to the rod until the cutting bevel rests flush against the ceramic surface.
Step 3: Execute the Controlled Downward Draw
- Move the knife downward and backward in a single sweeping motion, drawing from heel to tip.
- Follow the Belly Curve: As you reach the curved belly of the knife toward the point, raise your elbow slightly so the edge stays perpendicular to the ceramic surface through the tip.
- The Light Pressure Rule: Apply only 1 to 2 pounds of downward force—roughly the natural weight of the knife resting against the rod. Pushing hard into non-yielding ceramic will roll the apex, chip brittle steels, and flex the blade.
- Take roughly two seconds to complete a full downward stroke on an 8-inch chef’s knife.
Step 4: Alternate Sides Evenly
- Lift the knife clean away from the rod and position the opposite side of the blade at the top of the cylinder.
- Match the exact same angle.
- Draw the knife down smoothly from heel to tip.
- Count Your Cycles:
- Routine Daily Maintenance: Make 4 to 6 alternating passes per side.
- Refreshing a Sluggish Edge: Make 10 to 12 alternating passes per side.
- Alternating sides with each stroke weakens microscopic burrs and prevents an uneven, one-sided bevel.
Step 5: Clean and Test
Ceramic rods produce fine steel dust (swarf). Wipe the blade thoroughly with a damp microfiber cloth before slicing food. Test the sharpness on copy paper or a ripe tomato.
How to Use Ceramic V-Crock Sticks
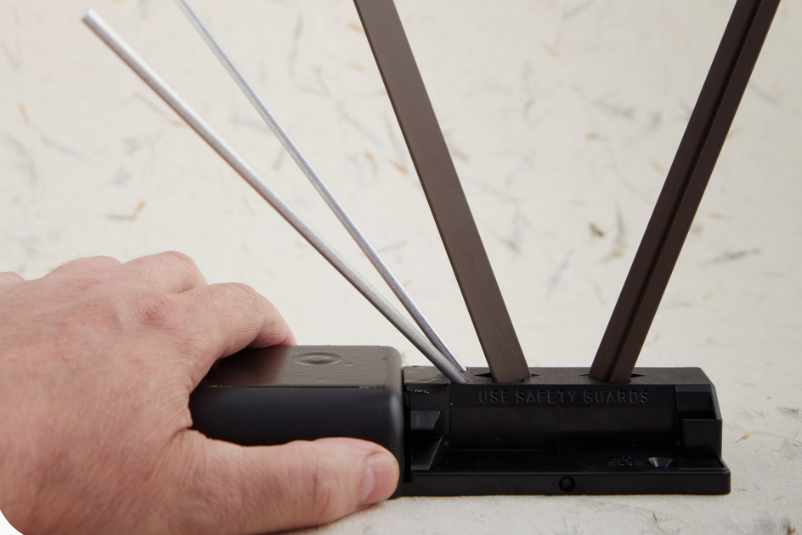
If maintaining a consistent angle on a handheld rod feels challenging, a desktop V-crock system provides a guided alternative:
The Step-by-Step V-Crock Method:
- Place the base on a flat, stable table with the brass safety guide pins installed (to protect your hands from downward slips).
- Insert the ceramic rods into either the 30-degree (15° per side) or 40-degree (20° per side) slots.
- Hold the knife blade strictly perpendicular (90 degrees) relative to the table surface.
- Place the heel of the knife at the top of the left ceramic rod. Pull the knife straight down and backward toward yourself, keeping the blade vertical.
- Move to the right ceramic rod and repeat the vertical downward pull.
- Make 10 to 15 alternating passes. The angled rods handle the geometry, so you only need to keep the blade straight up and down.
Fine-Grit Maintenance: Cleaning Swarf and De-Clogging Pores
The most common reason a ceramic sharpener stops performing is not wear—it is swarf loading.
Why Ceramic Stones and Rods “Go Slick”
As sintered alumina cuts steel, removed micro-filings lodge in the pores between ceramic crystals. Over dozens of sharpening runs, these gray streaks merge into a smooth layer of compacted metal.
Once glazed, the ceramic cannot contact fresh steel; it simply slides across the blade without sharpening.
The Deep-Cleaning Protocol:
- Wet the ceramic rod under warm running water.
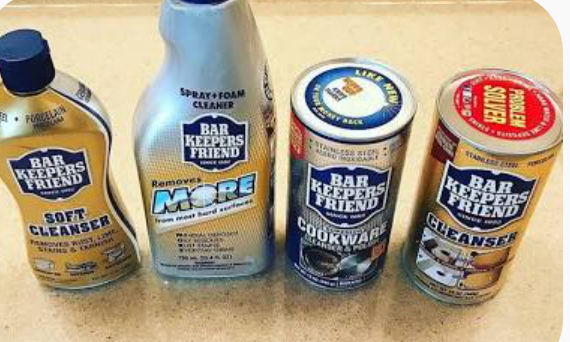
- Sprinkle a small amount of Bar Keepers Friend powder onto a damp kitchen scouring sponge.
- Wrap the sponge around the rod and scrub up and down with firm pressure. The oxalic acid breaks down the embedded iron filings without damaging the alumina ceramic.
- Rinse thoroughly under warm water and dry with a clean cotton towel. The ceramic will return to its original white or ivory color, with its abrasive texture fully restored.
Real Cutting Tests: Performance Across Diverse Steels
Buy now in AMAZON
To measure the practical effectiveness of a fine-grit ceramic sharpener, we tested a 1200-grit white ceramic rod across three common knives with varying steel hardness ratings. Sharpness was tracked using a certified BESS (Brubacher Edge Sharpness Scale) sensor.
Lower BESS scores indicate a sharper, keener apex:
- 50–100 BESS: Razor blade / Scalpel keenness.
- 100–150 BESS: High-end Japanese cutlery / Hair-shaving edge.
- 150–200 BESS: Premium factory Western cutlery.
- 250–350 BESS: Usable working edge (feels sluggish on soft produce).
- 400+ BESS: Dull edge (slips off tomato skins, crushes herbs).
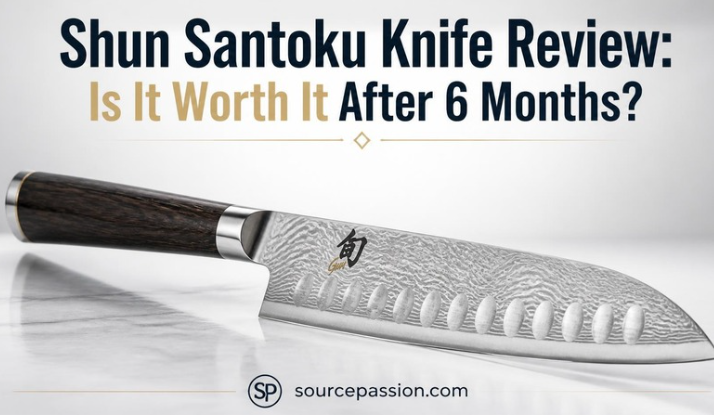
Test 1: Shun Classic 8-Inch Chef’s Knife (VG-MAX Core, 61 HRC)
- Starting State: 310 BESS (Functional working edge, but slid on ripe tomato skins).
- Sharpening Protocol: 8 alternating passes at 15° per side using light downward pressure.
- Final BESS Score: 115 BESS.
- Cutting Feel: Sliced through hanging paper with zero drag. The ceramic cut the hard vanadium carbides without micro-chipping, producing a refined, hair-shaving edge.
Test 2: Wüsthof Classic 8-Inch Chef’s Knife (X50CrMoV15, 58 HRC)
- Starting State: 385 BESS (Sluggish, torn paper fibers).
- Sharpening Protocol: 10 alternating passes at 20° per side.
- Final BESS Score: 138 BESS.
- Cutting Feel: Sliced through soft tomatoes cleanly. The ceramic rod realigned the rolled German steel while micro-refining the apex.
Test 3: Victorinox Fibrox Pro 8-Inch Chef’s Knife (56 HRC)
- Starting State: 360 BESS (Dull; tore through paper).
- Sharpening Protocol: 6 alternating passes at 20° per side.
- Final BESS Score: 148 BESS.
- Cutting Feel: The softer, ductile Swiss alloy responded rapidly, regaining a clean working bite in under 20 seconds.
Comprehensive Pros vs. Cons Analysis
The Advantages: Where Ceramics Excel
- Hardness Without Gouging: At Mohs 9, alumina ceramic sharpens modern powder-metallurgy super-steels (like CPM-S30V and MagnaCut) and hard Japanese alloys (VG-10, SG2) that glaze traditional metallic steel rods.
- Preserves Knife Lifespan: Unlike motorized grinders or coarse pull-through sharpeners that peel away metal, ceramic rods remove only microscopic shavings. Regular ceramic maintenance keeps knives keen while preserving blade height for decades.
- Clean, Dry Operation: No soaking tubs, oil bottles, or wet countertops required. A ceramic rod can sit in a knife block, ready for a quick touch-up before slicing.
The Drawbacks: Real-World Limitations
- Brittleness: Sintered ceramic has high compressive strength but poor tensile shock resistance. If you drop a ceramic rod onto a tile or concrete floor, it will likely snap.
- Swarf Clogging: Metal filings build up in the ceramic pores, requiring periodic deep cleaning with an abrasive sponge to maintain cutting performance.
- Not for Major Repairs: A 1200-grit ceramic rod is designed for maintenance and apex refining. If your knife has large chips or a broken tip, ceramic hones are too fine; you will need a coarse 220–400 grit benchstone or diamond plate to reprofile the blade.
Ceramic Sharpeners vs. Competing Systems
| Feature | Ceramic Honing Rod (1200#) | Traditional Steel Rod | Water Whetstone (1000/6000) | Pull-Through Carbide Gadget |
| Operational Action | Micro-Abrasion + Realignment | Realignment Only (Zero Cut) | Controlled Surface Abrasion | Aggressive Shear Scraping |
| Material Hardness | Mohs 9 (Ultra-Hard Alumina) | Mohs 6–7 (Tempered Steel) | Mohs 9 (Synthetic Corundum) | Mohs 9–9.5 (Tungsten Carbide) |
| Speed (Touch-Up) | 20 Seconds | 15 Seconds | 15 to 25 Minutes (Soak/Prep) | 10 Seconds |
| Steel Removal Rate | Very Low (Micro-scale) | None | Low to Moderate | High (Shortens Blade Life) |
| Safe for Japanese Knives? | Yes (Light Pressure) | No (Chips brittle edges) | Yes (Industry Standard) | No (Severe Chipping Risk) |
| Drop Fragility | High (Can shatter) | None (Solid steel) | Moderate (Can crack) | Low (Molded plastic body) |
| Approximate Cost | $25 – $45 | $15 – $30 | $40 – $90 | $10 – $20 |
Critical Mistakes to Avoid
+-------------------------------------------------------------------------+
|                      CRITICAL MISTAKES TO AVOID                         |
+--------------------------+----------------------------------------------+
| Error                    | Consequence & Immediate Solution             |
+--------------------------+----------------------------------------------+
| 1. Excessive Hand        | Chipping on brittle Japanese steels; rolls   |
|    Pressure              | apex. Use ONLY 1 to 2 lbs of force.          |
+--------------------------+----------------------------------------------+
| 2. Floating Mid-Air      | Angle drift rounds the cutting edge.         |
|    Sword Swipes          | -> Anchor the rod vertically on a board.     |
+--------------------------+----------------------------------------------+
| 3. Skipping Swarf        | Metal filings glaze pores, causing rod to    |
|    Cleaning              | slip. Scrub with Bar Keepers Friend monthly. |
+--------------------------+----------------------------------------------+
| 4. Pulling Knife Tip Off | Rounds off the needle point. Lift blade off  |
|    the End               | the ceramic before tip snaps off the curve.  |
+--------------------------+----------------------------------------------+
Buy now in AMAZON
Frequently Asked Questions
Can a ceramic knife sharpener sharpen ceramic knives?
No. Ceramic kitchen knives are made from zirconium oxide ($\text{ZrO}_2$), which shares a similar hardness to aluminum oxide ceramic rods. Rubbing a ceramic blade against a ceramic sharpener can lead to chattering, friction fractures, and chipped edges. Ceramic blades require diamond abrasives for sharpening.
How often should I use a ceramic sharpener?
For standard home cooking, use a fine ceramic rod (1000–1200 grit) once every 2 to 3 cooking sessions, or whenever the blade begins to drag on tomato skins. Making 4 to 6 light alternating passes regularly keeps the apex aligned, postponing the need to take the knife to coarse whetstones for months.
Can a ceramic sharpener replace bench whetstones completely?
Not entirely. A ceramic rod or V-stick system excels at daily maintenance, minor apex resetting, and deburring. However, as knives are used and sharpened over time, the blade behind the cutting edge gradually thickens. Eventually, the knife must be thinned on coarse and medium flat benchstones (220 to 1000 grit) to restore optimal slicing geometry.
What should I do if my ceramic rod breaks in half?
If a ceramic rod snaps from a drop, the fragments can still be used. Broken sections can serve as pocket slipstones for sharpening curved knives (like hawkbills or karambits), fishhooks, garden pruners, or wood-carving tools.
Why does my knife feel scratchy after using a ceramic rod?
A scratchy edge usually results from applying too much downward pressure or using an inconsistent angle. Heavy pressure drives the apex into the rigid ceramic, forming a ragged wire burr. Use light pressure (under 1 pound), maintain a consistent angle, and finish with two featherlight passes per side to clean away residual burrs.
Key Takeaways
- Cuts and Realigns: Sintered alumina ceramic (Mohs 9) cuts hardened steel while straightening bent edges, outperforming traditional steel honing rods on hard Japanese cutlery.
- Anchor the Rod Vertically: Improve safety and angle consistency by resting the rubber tip of the rod downward on a secure cutting board, rather than waving it unsupported in mid-air.
- Light Pressure is Mandatory: Apply only 1 to 2 pounds of force. Heavy downward pressure gouges steel and risks micro-chipping brittle edges.
- Keep the Ceramic Clean: Gray streaks are embedded metal swarf. Restore abrasive bite by scrubbing the rod with Bar Keepers Friend or a clean pencil eraser.
- Match Angle to Cutlery: Maintain 15 degrees per side for Japanese cutlery (Global, Shun) and 20 degrees per side for traditional Western blades (Wüsthof, Victorinox).