If you’re wondering how to decorate a kitchen on a budget without renovating, you’re not alone, and the good news is that you can get dramatic results without touching a cabinet box, a countertop slab, or a single floor tile. Full kitchen remodels often reach tens of thousands of dollars once you factor in cabinets, countertops, appliances, and labor. For most homeowners, that number is simply off the table.
At Source Passion, we focus on making every room look professionally styled without a contractor in sight, and the kitchen is where we consistently see the most dramatic before-and-afters on the smallest budgets. The reason is straightforward: kitchens have several high-leverage surfaces that respond immediately to inexpensive changes. The wrong paint color, dated hardware, or bare walls make an otherwise functional kitchen look ten years older than it is. Swap those out, and the entire room shifts.
This guide covers six specific strategies for a budget kitchen makeover without remodeling: painting cabinets and walls, swapping hardware and lighting, installing a peel-and-stick backsplash, adding textiles and accessories, bringing in plants and addressing worn countertops, and building a prioritized budget plan before you spend a dollar. Every update includes real cost ranges and realistic time estimates so you can pick four to six moves that fit your budget and your weekend.
1. Paint your cabinets and walls for the biggest return on effort
Cabinet painting is the single highest-impact update you can make in a kitchen without replacing anything structural. It changes the entire color story of the room, and when done correctly, it genuinely looks like a professional result. The key phrase there is “done correctly,” because a common reason DIY jobs show problems later is inadequate prep or rushed cure time, not the painting itself.
The right way to paint cabinets so the finish actually lasts
Start by removing all doors, drawer fronts, and hardware before you touch a brush. Degrease every surface thoroughly, because kitchen cabinets collect invisible grease films that prevent paint from bonding. After degreasing, scuff-sand with 120-grit to level any imperfections, then follow with 220-grit for a smoother surface. Vacuum and wipe down with a tack cloth before priming.
Use a bonding primer, not a standard wall primer. For raw wood or stained surfaces prone to bleed-through, shellac-based primer is the stronger choice. Apply two thin coats of a cabinet enamel or urethane trim enamel in satin or semi-gloss, sanding lightly with 220-grit between coats. No topcoat is needed if you’re using a proper cabinet enamel; the product is designed to be the finish layer.
The step most DIYers rush is the cure time: give finished cabinets two to three weeks before heavy use so the paint hardens fully. Skipping that window is exactly where chips and scratches start.
Cost, time, and why the DIY route is worth it
DIY cabinet painting runs approximately $200 to $600 in materials and takes 20 to 40-plus hours of hands-on work spread across several days. Professional cabinet painting typically ranges from around $425 on the low end to $6,500 or more for a full kitchen, with larger or high-end projects going higher. That gap makes DIY cabinet painting one of the few budget kitchen updates that genuinely competes with professional results when the process is followed correctly.
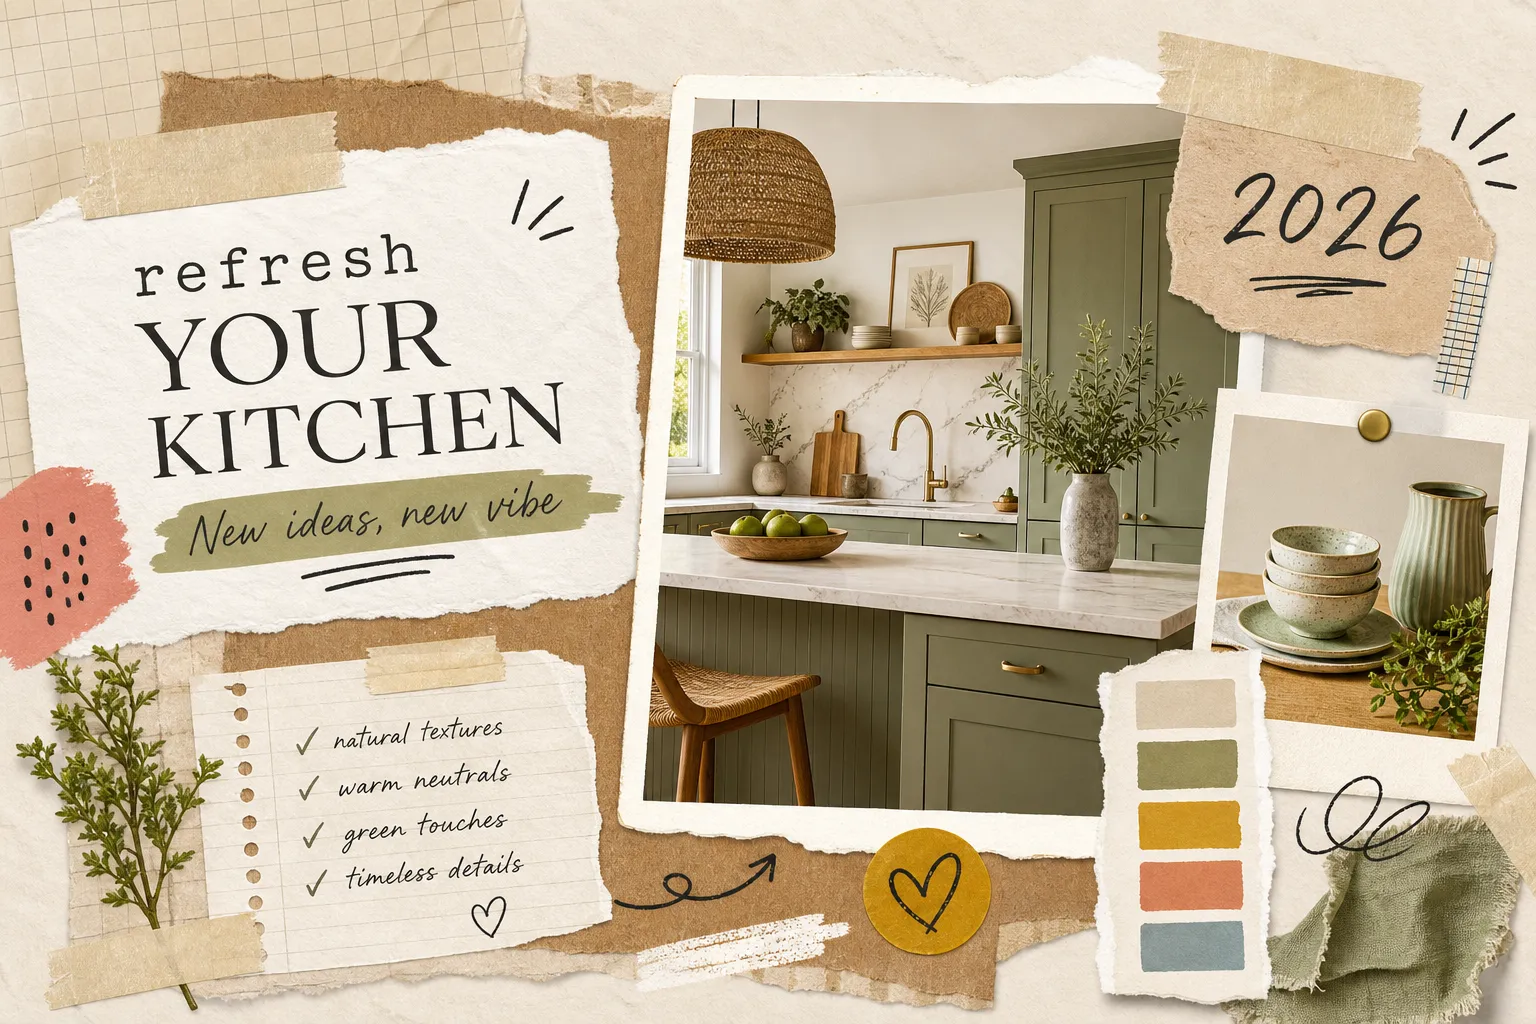
While you have the room in project mode, paint the walls at the same time to maximize the visual reset for minimal extra cost. In 2026, the most popular cabinet directions for American kitchens include deep greens like olive and forest green, warm off-whites and creams replacing cooler stark whites, and moody blues from navy to deep teal. Two-tone combinations with lighter uppers and darker lowers or islands are also gaining significant traction. Pair any of those cabinet choices with a warm greige or soft neutral wall and you get a cohesive, current result without a single structural change.
How to decorate a kitchen on a budget without renovating: hardware and lighting swaps
If cabinet painting feels like too large a commitment right now, hardware and lighting are the next-best moves for a DIY kitchen update. Both can be completed in a single afternoon, neither requires specialized skills for standard direct-swap scenarios, and the combined visual impact is significant enough to give the impression of a full refresh.
How to pick cabinet hardware that actually transforms the look
The biggest visual impact per dollar in hardware comes from two choices: oversized pulls and high-contrast finishes. Matte black hardware on light or white cabinets reads as bold and modern. Brushed brass on white or gray cabinets adds warmth without being traditional. Simple knobs and pulls range from a few dollars to $70 or more per piece depending on finish and brand, but a typical kitchen hardware replacement lands between $50 and $200 in parts, depending on kitchen size and the number of pieces. Stay consistent with one finish throughout the kitchen; mixing metals dilutes the polished result you’re aiming for.
Lighting upgrades that don’t require an electrician
Swapping a dated flush-mount for a statement pendant over the island, or a bold geometric fixture over the sink, changes the entire visual hierarchy of the space. For direct-swap scenarios where the existing junction box and wiring are already in place, this is a straightforward homeowner project with basic tools. If your wiring or junction box needs modification, consult a licensed electrician. Under-cabinet LED strip lights are a plug-in option that typically costs $20 to $60 and adds both task lighting and the layered glow that high-end kitchens carry. Together, a statement overhead fixture and under-cabinet strips, these two updates do more for a kitchen’s perceived quality than almost any other change at this price point.
How to decorate a kitchen on a budget without renovating: peel-and-stick backsplash
A bare or dated backsplash area is one of the most visible surfaces in the kitchen, and peel-and-stick tile is one of the most underrated budget moves available to homeowners and renters alike. A high-quality installation can last five to ten years with proper prep and a product rated for heat and moisture. The qualifier “high-quality” matters here: thin vinyl tiles without a heat or moisture rating will start peeling at edges within months in real kitchen conditions.
Which materials actually hold up behind a stove and above a sink
Premium PVC and PVC composite vinyl products perform best in kitchens because they are genuinely waterproof, heat-resistant, and easier to clean than cheaper alternatives. Among the consistently top-rated options, Smart Tiles score highly for durability and moisture resistance and typically run $5.31 to $15.82 per tile. Vamos Fish Scale Mosaic and Stickgoo PVC Metal Mosaic both carry strong durability and moisture-resistance ratings and hold a realistic appearance that stands up to close inspection. Avoid any tile listed without a heat or moisture rating, regardless of how good the product photos look.
Step-by-step installation for a clean, professional result
Surface prep determines whether your backsplash lasts two years or ten. Wipe the wall with a degreaser and let it dry fully before peeling a single tile. Start from the center of the most visible section and work outward so the pattern stays symmetrical at both edges. Press each tile firmly with a squeegee or the flat side of a credit card to eliminate air pockets as you go.
Leave a small gap at the countertop edge and along upper cabinets, then seal those lines with clear caulk once installation is complete. Before purchasing, calculate your square footage: measure the width and height of each section in inches, multiply them together, divide by 144 to convert to square feet, then add 10 to 15 percent for cuts and waste. A standard kitchen backsplash project typically takes three to five hours of hands-on work.
4. Bring in textiles and accessories, affordable kitchen styling tips
Most budget kitchen decor guides skip soft goods entirely, which is exactly why so many refreshed kitchens still feel unfinished. Textiles are what separate a styled kitchen from a merely clean one. They add color, warmth, and visual texture to a room full of hard surfaces, and they’re among the least expensive updates available.
The textile trio that pulls a kitchen together
A runner rug anchors the space in front of the sink or island the same way a rug anchors a living room. For most kitchens, a 2.5-foot by 7-foot runner works well for standard layouts, while a 2.5-foot by 10-foot runner suits longer prep zones. Polypropylene and recycled PET polyester are the strongest material choices for kitchen traffic: both are washable, moisture-resistant, and low-profile enough for safe foot traffic near appliances.
Window treatments matter more than most people realize. A simple linen café curtain or Roman shade in a neutral or warm tone immediately softens the hard lines of a kitchen and frames the window as an intentional design element rather than an afterthought. Add a set of coordinated dish towels on the oven handle or a wall hook, and you’ve introduced pattern, color, and texture with about $40 in total investment.
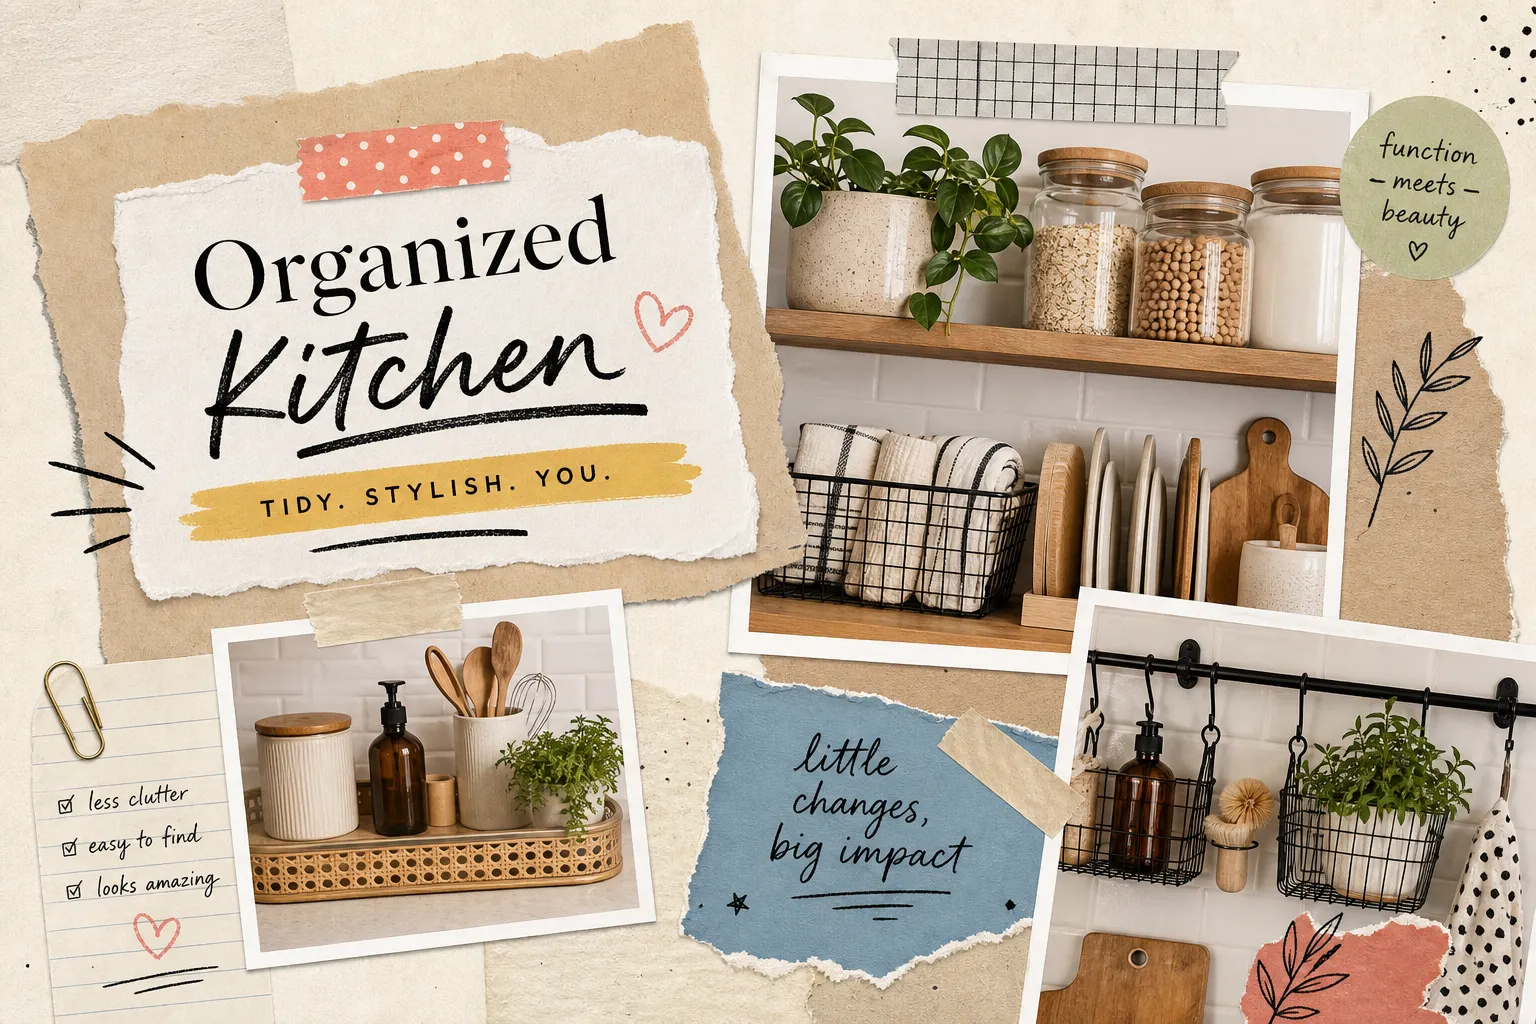
Countertop accessories that look curated, not cluttered
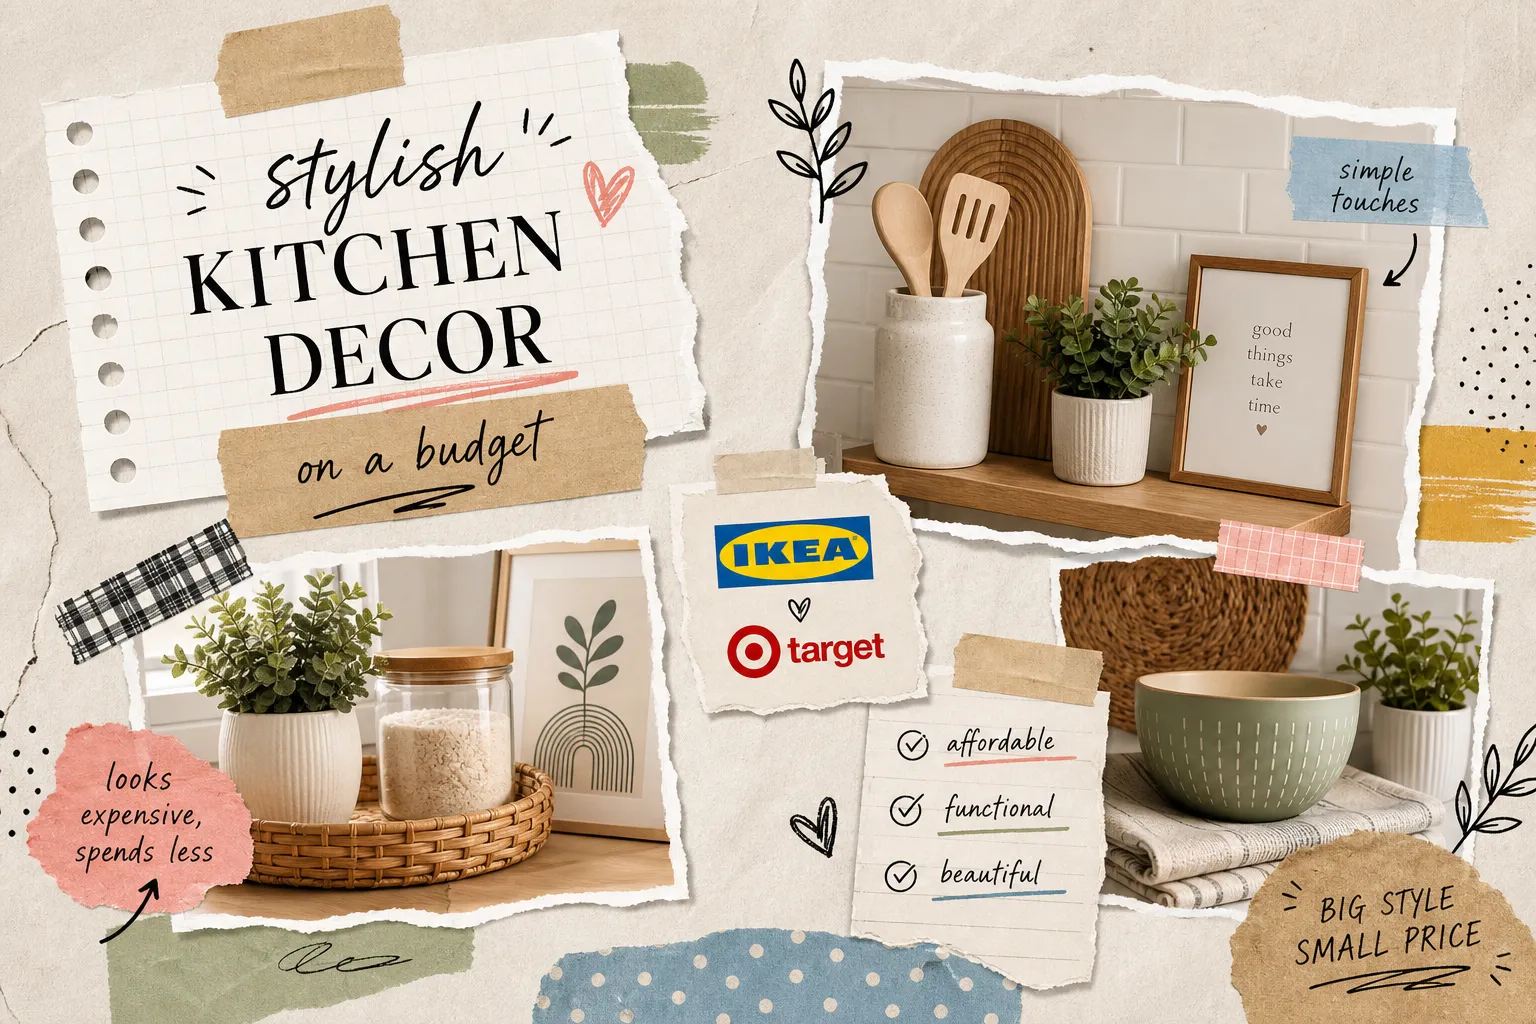
Display only what you use daily, and vary heights to keep groupings visually interesting. A wooden cutting board propped against the backsplash, a ceramic canister set, and a small vase or fruit bowl form a complete, intentional vignette that reads as professionally styled. Target, IKEA, and Wayfair carry kitchen accessories that photograph like high-end boutique pieces at a fraction of the price, which makes this the easiest category to execute on a tight budget.
5. Add plants and address worn countertops for a finished feel
Plants are one of the fastest ways to make a kitchen feel alive and intentional. They add organic color, soften hard surfaces, and signal that the space is cared for. Herbs are the natural starting point for a kitchen because they’re functional and thrive in the warmth and humidity near a window.
The best plants for a kitchen windowsill or counter
Parsley, chives, mint, and lemon balm handle indirect light well and are strong choices for windowsills that don’t get direct sun for most of the day. Basil works on a brighter windowsill but may grow leggy in low light. For spots away from windows entirely, pothos and small succulents handle the humidity and indirect light of most kitchen environments without special care. A trio of herb pots in matching ceramic or terracotta planters is one of the simplest ways to make a kitchen look professionally styled, and depending on your pot choice, it’s often an inexpensive setup well within a tight budget.
When styling isn’t enough: low-cost countertop cover options
If your countertops are worn beyond what styling can fix, you have three budget options. Contact paper is the most affordable and the most temporary; expect problems near the sink and high-heat areas within months under regular use. DIY refinishing kits using epoxy or stone-chip coatings last longer and can convincingly mimic granite or quartz for a few hundred dollars, but they require significant prep and some skill. Laminate overlays, available at both Lowe’s and Home Depot, are the most durable of the three. They don’t require resealing, hold up to daily kitchen use better than the other two options, and represent the strongest long-term choice if you want a surface upgrade without a full replacement.
6. Build your budget plan before you buy a single thing
Buying updates in the wrong order wastes both time and money. A new peel-and-stick backsplash with old mismatched hardware reads as unfinished. Hardware, lighting, and a backsplash in the same finish family read as a deliberately designed kitchen. Sequence matters as much as the individual updates themselves.
A simple way to rank your updates by impact and effort
Think of each update on two axes: visual impact and effort required. Cabinet painting is high-impact and high-effort. Hardware and lighting swaps are high-impact and low-effort. Textiles, accessories, and plants are medium-impact and the easiest of all to execute. This framework lets you match your available time to the right starting point.
As an illustrative example: if you have roughly $500 and a full weekend, lead with hardware, a peel-and-stick backsplash, and under-cabinet lighting. If your budget stretches to around $1,000 and two weekends, adding cabinet and wall painting to that list covers the highest-impact updates in the guide. Whatever combination you choose, pick updates that work together in finish and tone so the result feels cohesive rather than collected from separate projects.
Your shopping checklist and first-weekend action plan
Before purchasing anything, confirm four numbers: the total count of cabinet doors and drawers separately for hardware, the square footage of your backsplash area with 10 to 15 percent added for waste, the size and mounting type of your current light fixture, and the wall square footage for paint quantity. These four measurements prevent the most common and expensive buying mistakes.
Sequence the updates in this order: paint first, then hardware, then backsplash, then lighting, then textiles and plants last. Painting before hardware prevents you from redoing holes and finishes; installing the backsplash after hardware means you’re working with a clean finish reference point. Keep in mind that if any update involves new hardwired electrical work, local permit requirements may apply, check your local codes or consult a licensed professional before starting that portion of the project. Every cosmetic update in this guide is also reversible or removable, which makes the entire approach renter-friendly and low-risk for anyone who wants the flexibility to change direction later.
Before you go, learn more on our About Us page or Contact Us if you have questions. Explore additional inspiration at Source Passion.
Now you know how to decorate a kitchen on a budget without renovating
A kitchen that looks like it had a professional overhaul is completely within reach. Most of the cosmetic updates in this guide don’t require a contractor or a permit, and none of them demand a five-figure budget. What they do require is choosing the right four to six updates and executing them in the right order. Cabinet and wall painting delivers the biggest single transformation. Hardware and lighting provide the fastest impact per dollar. A peel-and-stick backsplash adds texture and pattern in a weekend. Rounded out with textiles, accessories, and plants, the space gains the layered warmth that makes a kitchen feel genuinely designed rather than just functional.
Pick the combination that fits your budget and your available weekends, you don’t need to tackle all six at once. Start with your highest-impact, lowest-effort updates to build momentum, then layer in the more involved projects when you’re ready. If you want to take the same room-by-room approach to the rest of your home, Source Passion has decor guides across every major space, from living rooms and bedrooms to outdoor areas, built to make professional-looking results feel completely achievable on a real budget.
Now you know how to decorate a kitchen on a budget without renovating. Choose your first update, measure what you need, and start this weekend.