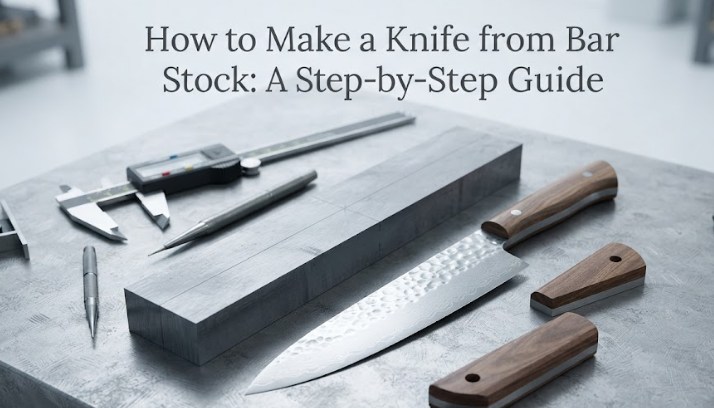
You can make a great knife at home. You do not need a hot forge to start. This guide shows you how to use a simple flat bar of steel.
This process is called stock removal knife making. You start with a flat piece of steel. Then you cut away the parts you do not want. It is very clean.
Many makers prefer this style. It is the best way to learn knife making for beginners. You can make your first blade in a weekend. Let us look at it.
You do not need to spend a lot of money. You can use tools you already have in your garage. This makes it a very cheap hobby to start today.
I will guide you through each step. We will cover choosing steel, cutting, grinding, and heat treating. You will have a finished knife by the end of this guide now.
Choosing Your Steel
You must choose the best steel for knife making. Do not use random metal scrap. Do not use old rusty files yet. Clean flat bar steel is best for this.
Can you make a knife out of mild steel? No, you cannot. Mild steel has very little carbon. It will not get hard. Your knife will not hold an edge.
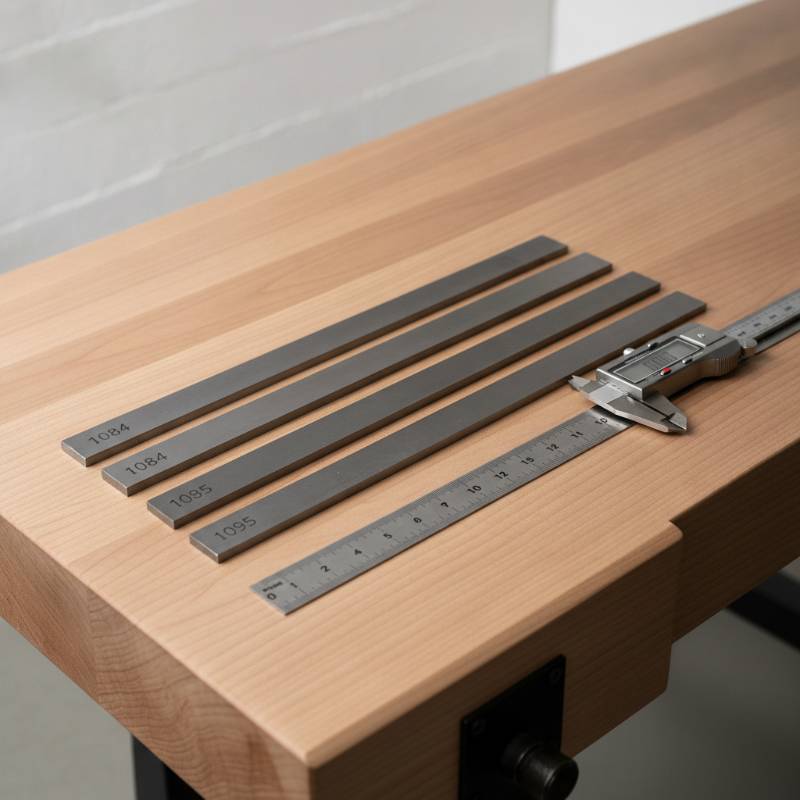
I recommend 1084 steel bar stock for your first project. It is cheap and easy to find. It is also very easy to heat treat. Many top makers love it.
You can also use 1095 steel flat bar. It is a very good carbon steel. But it is harder to heat treat than 1084 steel. Stick to 1084 steel first.
High carbon steel is essential. When you heat it and cool it fast, it changes. The metal becomes hard enough to cut other things. This is what we want here.
You can buy these metals from knife making steel suppliers. Popular shops include New Jersey Steel Baron and Alpha Knife Supply. They ship clean, flat bars to your front door.
What Tools Do You Need?
What tools do you need to make a knife from bar stock? You do not need big machines. You can start with basic hand tools. A few items will do.
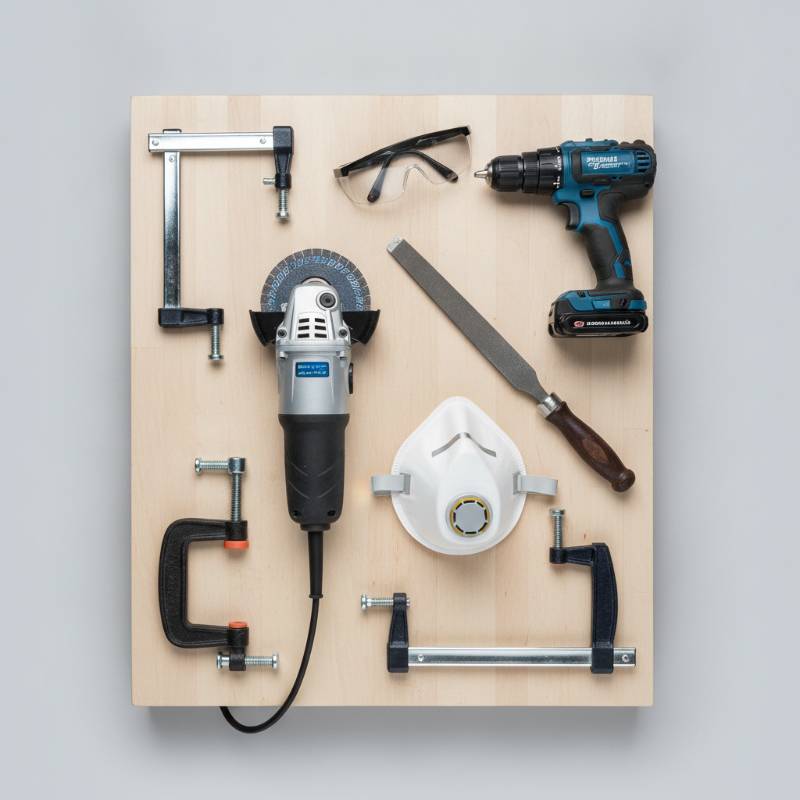
You need a hacksaw or an angle grinder. These tools cut the metal bar. You also need a set of hand files. Files help you shape the blade bevels easily.
A belt sander for knife making is a huge help. It speeds up the work. A simple 1 by 30 inch sander is cheap. It works well for most beginners.
You also need a power drill. You will drill holes in the steel for pins. These pins hold the handle in place. A small drill press works best for this.
Do not forget your safety gear. You must wear safety glasses. You must wear a dust mask. Metal dust is bad for your lungs. Stay safe in your shop now.
You also need some sandpaper. Get grits from eighty to four hundred. Sandpaper will make the steel smooth and shiny. It takes some time but it is worth it now.
Step 1: Design and Template
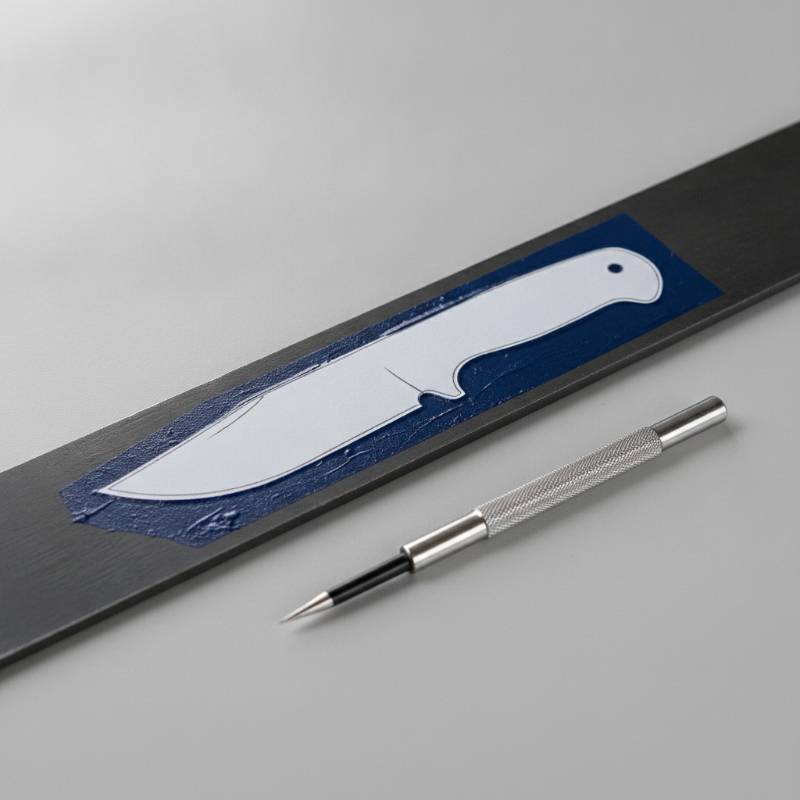
First, you need a plan. Do not just start cutting. Draw your knife shape on paper first. Keep the design simple. A small camp knife is a great start project.
You can find DIY knife making templates online. Print one out. Cut the paper shape with scissors. This paper shape is your guide for the flat steel bar you buy.
Now, glue the paper template to your steel bar. Or you can trace around it. Use a dark marker to draw the line. Make sure the line is very clear.
Choose a design with a full tang. A full tang means the steel goes all the way through the handle. This design is very strong and easy to make now.
Avoid recurves or complex shapes for your first knife. Straight lines are much easier to cut and grind. Keep your blade under four inches long for your first build now.
Step 2: Cutting the Profile
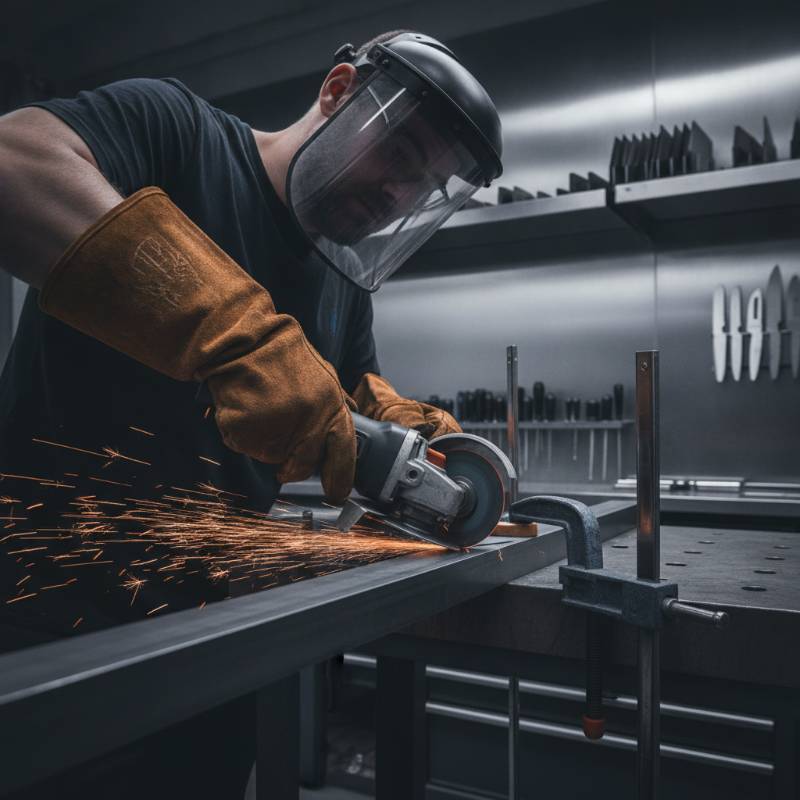
Now you will cut the knife shape. This is how to make a knife from flat bar steel. Clamp the steel bar tight to your workbench. Use two strong clamps.
Use your hacksaw or angle grinder. Cut close to your marked line. Do not cut right on the line. Leave a tiny bit of extra metal for the grinding work.
Take your time with this step. If you use an angle grinder, go slow. Do not let the metal get too hot. Let it cool down in water if needed.
Now you have a rough metal shape. We call this a knife blank. It looks like a knife now. But it has very rough, sharp metal edges on it.
Use a file or sander to clean up the outside edges. Make the shape match your paper template perfectly. This is called profiling the blade. It is very satisfying work.
Step 3: Grinding the Bevels
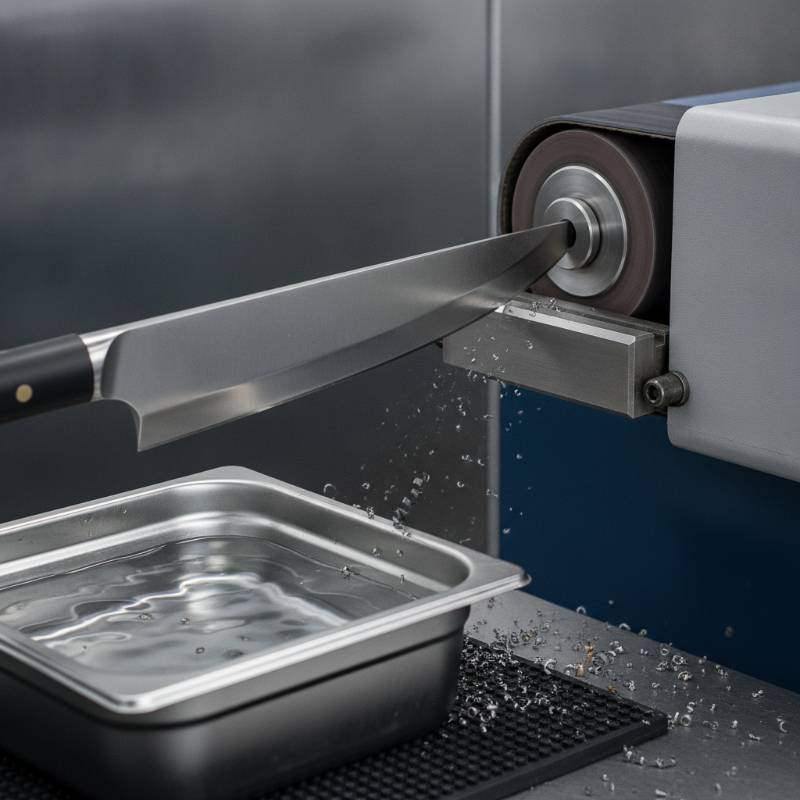
Now you must shape the blade edges. This step is how to grind knife bevels. The bevel is the sloped part. It leads down to the final sharp cutting edge.
Draw a center line down the thin edge of the blank. This line keeps you straight. Use a drill bit or a scribe to mark the exact middle line point.
Use your belt sander or hand files. Grind the metal at a small angle. Start from the edge and work up. Go slow and check your metal work very often.
Grind both sides of the blade. Keep the angles even on both sides. Stop grinding before the edge gets too thin. Leave the edge about as thick as a dime.
If the edge is too thin, it will crack. It will warp during the heat treat step. A thick edge is safe. You can make it sharp much later on.
Step 4: Drilling Pin Holes

You must drill holes in the handle area. We call this part the tang. The holes are for metal pins. Pins will hold your handle wood very tight and safe.
Mark two or three holes on the tang. Use a center punch to make a small dent. This dent stops your drill bit from walking or sliding far away now.
Drill the holes with a sharp drill bit. Use a slow speed. Add a drop of oil to the metal. Oil keeps the drill bit cool and very sharp always.
Make sure your holes are the same size as your pin stock. Brass pins are very common. A size of one eighth of an inch is great for pins now.
Step 5: How to Heat Treat the Blade
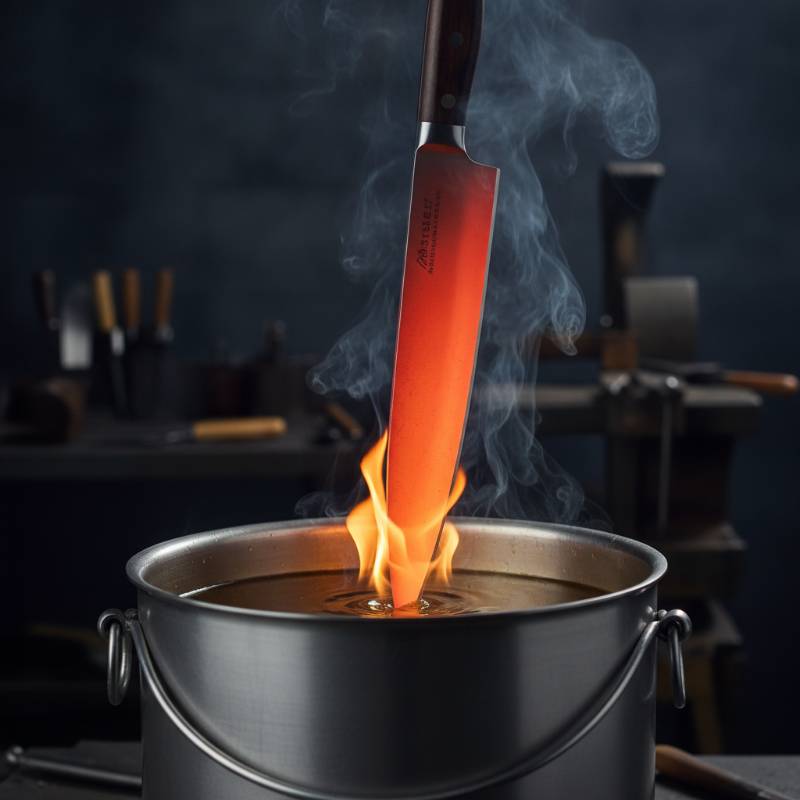
The next step is how to heat treat a knife blade. Heat treating makes the soft steel hard. Without this step, your knife will bend and stay very dull always.
Can you make a knife without a forge? Yes, you can. You can use a simple propane torch for small blades. Or you can build a tiny outdoor firebrick forge.
Heat the blade until it glows bright red. It must reach about fifteen hundred degrees. Check it with a magnet. When it is hot enough, magnets will not stick anymore.
Now quickly plunge the hot blade into warm canola oil. This is called quenching. Hold it still for twenty seconds. The steel is now very hard and very brittle here.
Next, you must temper the blade. Clean the oil off the steel. Put the blade in your home oven at four hundred degrees for two hours. This stops blade cracking.
Tempering relaxes the hard steel. It keeps the blade from breaking when you use it. Do not skip this step. It is very important for a long lasting knife now.
Step 6: Adding the Handle
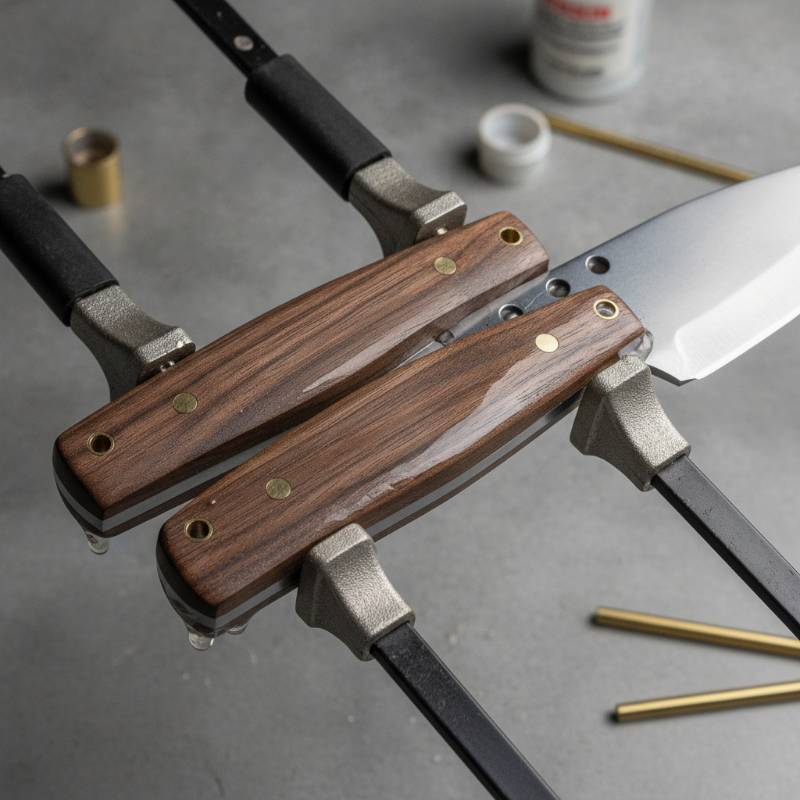
Now your blade is hard and tough. Clean the dark scale off the metal with fine sandpaper. Make it look shiny. Soon we will add the wooden handle scales here.
Use two matching pieces of hardwood. We call these handle scales. Trace the steel knife tang onto the wood. Cut the wood to the rough shape with a small saw.
Clamp the wood to the tang. Drill holes through the wood using the holes in the steel as a guide. Insert your brass pins to check the final pin fit.
Mix some strong two-part epoxy glue. Spread this wet glue on the steel and wood. Put the pins in. Clamp the handle tight. Let the glue dry all night long.
Once the glue is dry, sand the wood. Shape the handle so it feels good in your hand. Use files and sandpaper. Work from rough grit to fine grit now.
You can apply a wood finish like linseed oil. Oil protects the wood and brings out the beautiful grain. Your handle will look great and last a long time now.
Comparison: Stock Removal vs. Forging
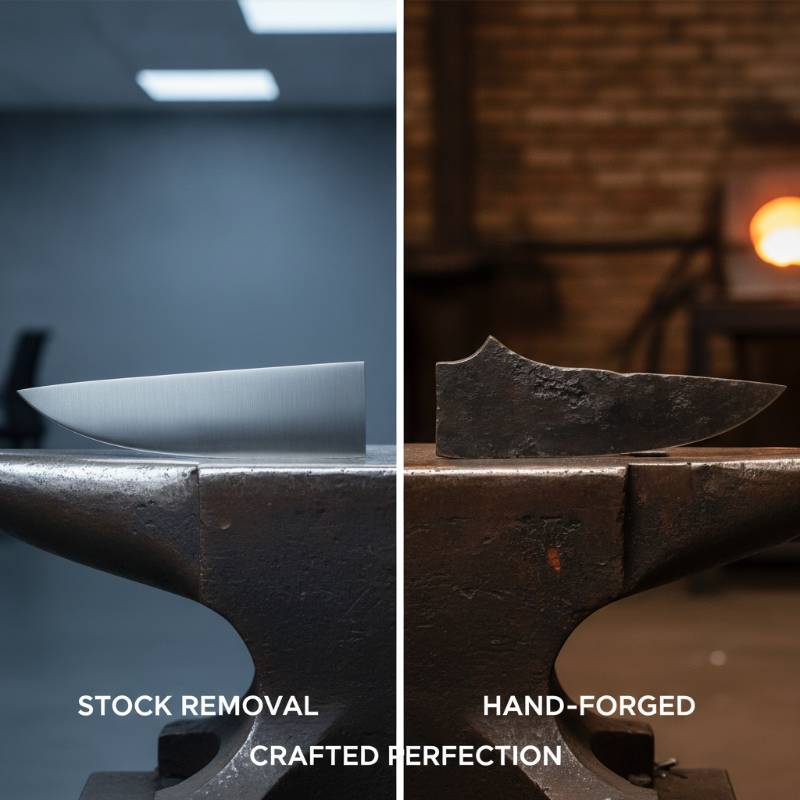
Is stock removal better than forging? Both methods make great knives. But they are very different. Let us compare the two ways to make a solid steel knife blade now.
Stock removal is clean and fast. You do not need an anvil. You do not need a big hammer. It is easy to get flat, straight blades every single time.
Forging uses high heat and a heavy hammer to shape the steel. It is loud and hot. It takes more skill to learn. But it wastes less raw metal now.
If you have a small space, stock removal is the best choice. You only need a workbench and a few tools. It is the perfect way to begin making blades.
| Feature | Stock Removal | Forging |
|---|---|---|
| Tools Needed | Basic Hand Files, Sander | Forge, Anvil, Hammer |
| Noise Level | Low | Very High |
| Metal Waste | High | Low |
| Learning Curve | Easy | Hard |
| Space Required | Small Table | Large Outdoor Area |
Final Verdict
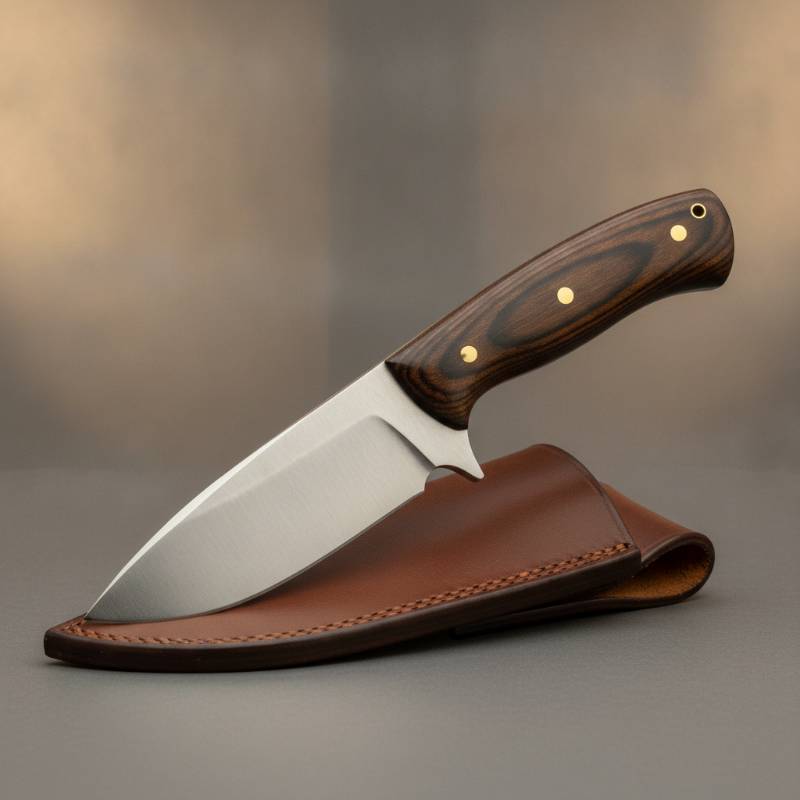
Making a knife from a flat bar is a great project. It teaches you how steel works. You get a real tool that you made with your own two hands.
Do not worry if your first knife is not perfect. Every maker starts with a rough blade. Keep learning and practicing. Your next knife will be much better for sure.
Grab a bar of 1084 steel today. Draw a simple design. Cut the metal and start grinding. You will love the process of making your own custom knives at home.
Share your finished knife with friends and family. It is a wonderful craft to show off. You will feel proud of what you built in your own garage workshop now.
Frequently Asked Questions
Can you make a knife out of mild steel?
No, you cannot use mild steel because it lacks carbon. It will not harden when you heat treat it. Your knife will bend easily and will not stay sharp now.
What is the best steel for knife making for beginners?
1084 high carbon steel is the best steel for beginners. It is cheap to buy. It is very easy to heat treat at home with a simple propane torch now.
Can you make a knife without a forge?
No, you do not need a hot forge. You can cut and grind the steel cold. You only need a simple torch or a small fire to heat treat it.
What tools do you need to make a knife from bar stock?
You only need a hacksaw, hand files, a power drill, and some sandpaper. A small belt sander is also very helpful but you can make a knife without it now.