Is your smart vacuum acting up again? It is very hard when your helper stops working. You want clean floors without any stress. I will help you fix your robot today. I have worked with these vacuums for years. I know how to solve common issues. Many fixes take just a few minutes. Let us get your robot working again. It is easy. You do not need to buy a new machine. Most issues come from simple dust. Loose parts can also cause problems. We can get your device running like new. This home care is simple. Let us look at the best ways to fix it. We will cover power and spinning. We will also look at error codes. Follow along to make your vacuum work again. It is very easy.
Solutions for a Roomba That Won’t Charge
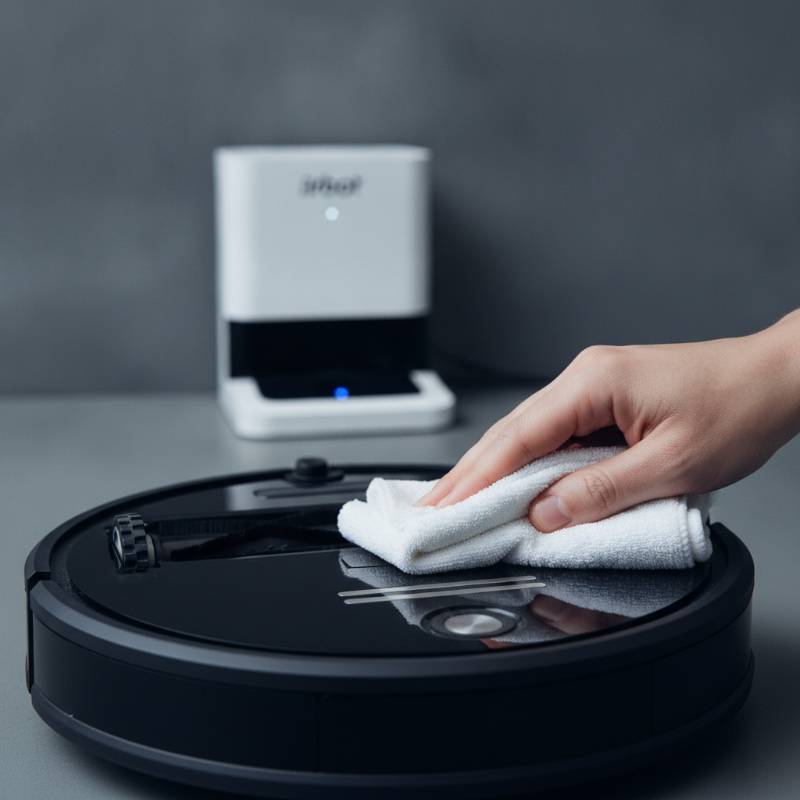
Why is my Roomba not turning on? This is a common issue. Mostly, the issue is that the robot gets no power. The dock cannot send power to it. Let us fix this. When your Roomba won’t charge, check the contacts. These metal plates are on the bottom. They are also on the dock. They must be clean to work. This is a simple step. Dust and hair can block these metal plates over time. They get a thin layer of dirt you cannot see. This stops power from reaching the battery. Your robot will not turn on. How do you fix a Roomba that won’t charge? Turn your vacuum over to find the two plates. Wipe them firmly with a dry soft cloth. You can also use a magic eraser. Clean the metal strips on the dock. Make sure they can press down and spring up. If they are stuck, gently press them to free them. This works very well for power. Roomba docking station problems can also prevent proper charging. Ensure the dock is on a hard, flat floor. If it sits on a thick rug, it tilts. The robot cannot connect when tilted. If cleaning does not work, you need a replacement. A Roomba battery replacement is very easy to do. Lithium batteries lose their capacity after a few years. A new battery will restore long runs.
What to Do When Roomba Spins in Circles or Gets Stuck
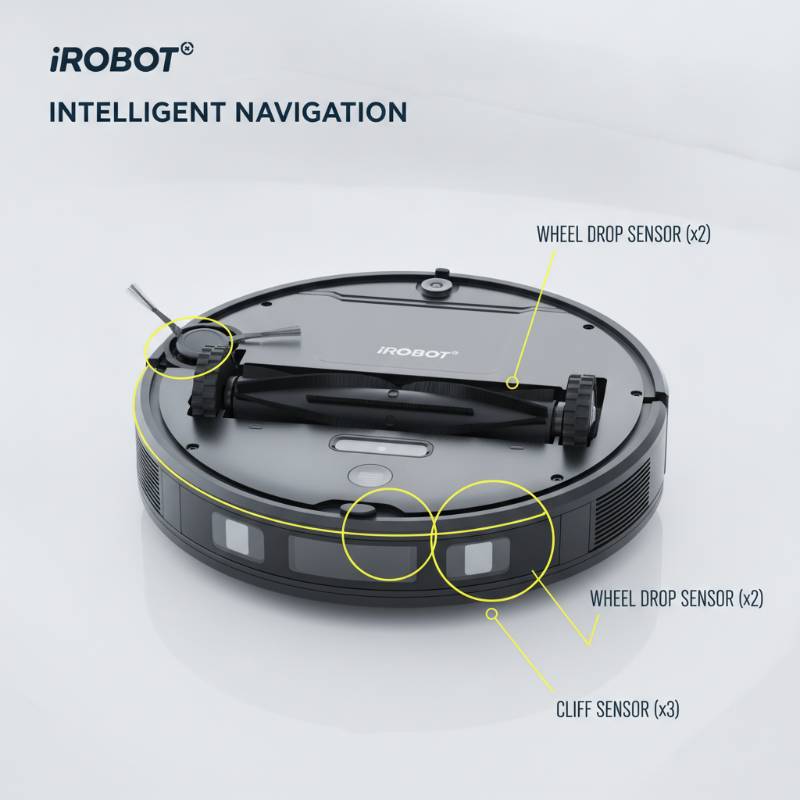
Is your Roomba spinning in circles? This behavior can look very strange. The robot moves forward, spins, and then stops. This usually means that a sensor is blocked. We can fix this fast. The cliff sensors stop the robot from falling down stairs. If they get covered in dust, it gets confused. The robot thinks it is on a ledge. It will spin to try to escape. To fix this, turn the robot over. Find the small plastic windows near the outer edge. Wipe them with a clean soft cloth. This will help your vacuum see the floor. It stops spinning. A Roomba bumper stuck error is another common cause. The bumper tells the robot when it hits objects. If dirt gets inside, the bumper gets stuck. The robot will spin in one place. Tap the front bumper gently several times. This will help knock any trapped dirt loose. Make sure the bumper can click when you press it. It should spring back out. This fixes it. Check the side wheels as well. Hair can wrap around the wheel axles. Use scissors to cut away any hair. Make sure both wheels can spin freely now. This helps the robot move.
How to Fix Brushes and Suction Issues
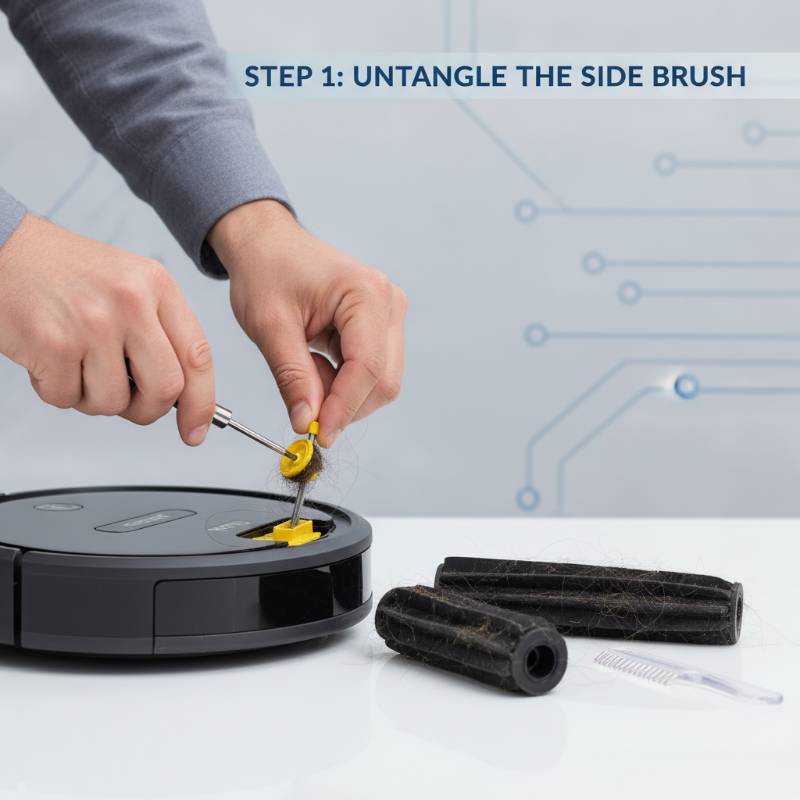
Is your Roomba side brush not spinning? This small brush sweeps dirt from corners. If it stops, your home will not get clean. Let us fix this small part today. It only takes a minute. Take a small screwdriver and remove the screw. Pull the side brush straight up. You will likely find a large clump of hair. It wraps tightly underneath the brush. Clean it out. Clean the metal post and the brush. Put the brush back and tighten the screw. This simple task should get it spinning again. It is very easy to do at home. This helps. What if your Roomba not sucking up dirt? This is a suction problem. First, empty the dustbin. A full bin blocks airflow and stops the vacuum. It cannot clean your floors this way. Check the filter. Tap the filter against a trash can to remove dust. Do not use water on the filter. You should replace the filter every two months. This keeps the suction strong. Check the main rubber rollers too. Open the latch to remove them. Hair can wrap around the ends of these rollers. Clean the yellow caps on the ends of them. This helps them spin. You might have a Roomba clean base vacuum seal problem. If your dock has an auto-empty bin, check it. Ensure the rubber seal is clean and not torn. A bad seal stops the suction.
Resolving Wi-Fi and Stopping Issues
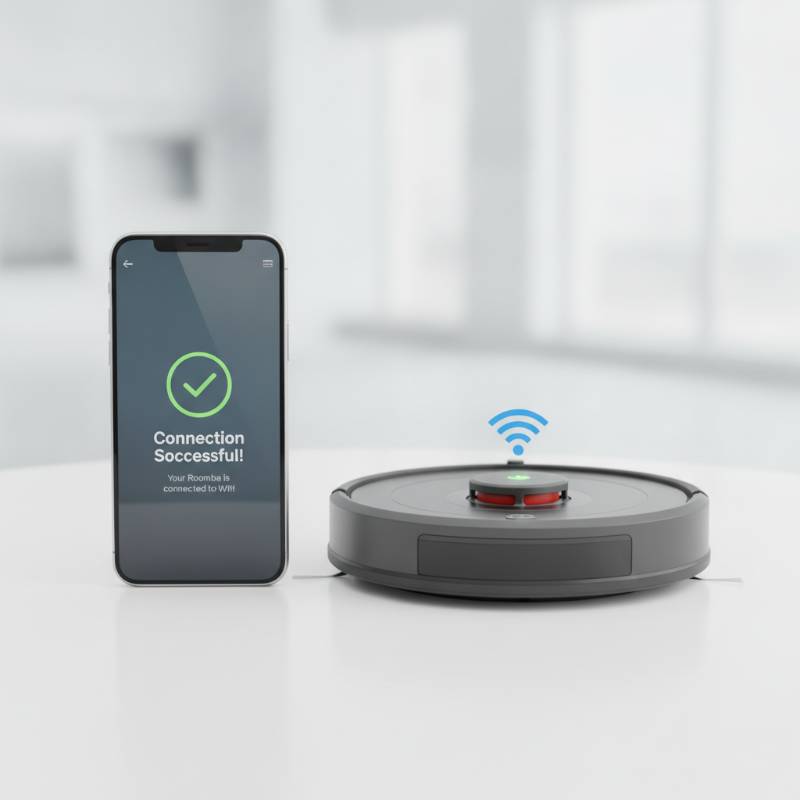
Why does my Roomba keep stopping? This can happen if the robot loses its Wi-Fi. A Roomba not connecting to Wi-Fi cannot get updates. It may stop in the middle of a room. To fix connection issues, move the dock closer. Place it near your home router. Ensure you connect to a 2.4 GHz network. Most robot vacuums do not work on 5 GHz. You can also restart your home router. This clears up network traffic. If your robot still fails to connect, reset it. You may need to reset to factory settings. This clears old data. How do I reset my iRobot Roomba? For older models, press Spot and Dock buttons. Hold them for ten seconds until lights turn off. This will reboot the system. It is very easy. For newer models like the i7 or j7, use Clean. Hold the Clean button down for twenty seconds. The light ring will spin. This simple reboot fixes many software glitches. Your robot will restart. If your robot still keeps stopping, check for blocks. A small toy or rug tassel can jam wheels. Clear the path before you start a clean cycle. This keeps the robot moving.
Deciphering Common Roomba Error Codes
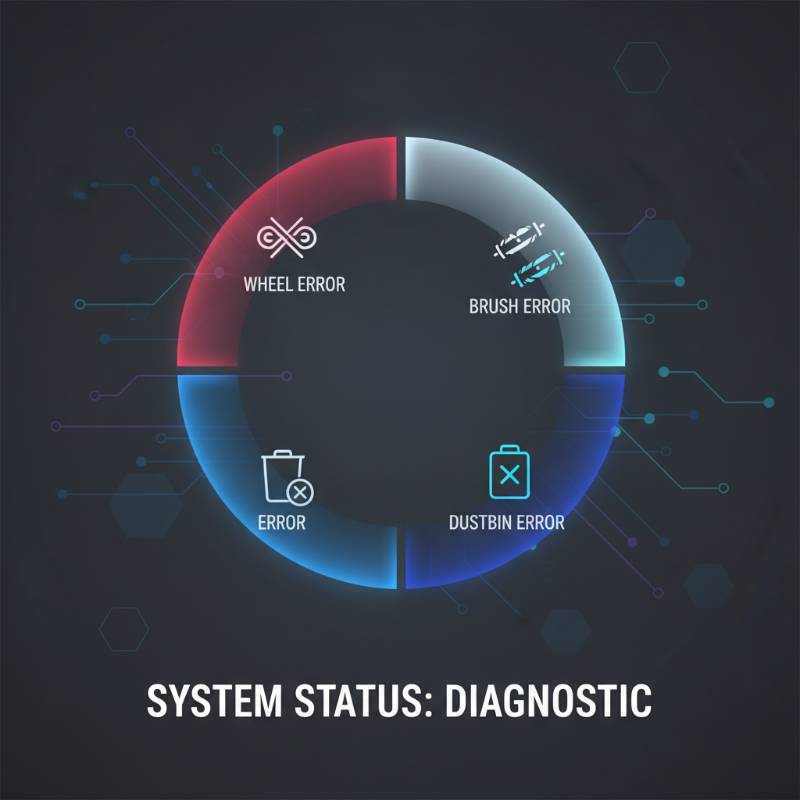
Your vacuum uses sounds and lights to talk. Knowing Roomba error codes is a key part of care. This is important for iRobot Roomba troubleshooting. Let us look at them now. Error 1 means a side wheel is stuck. This happens when the robot rides up on rugs. Pick up the robot. Place it on a flat floor and start again. It should work fine. Error 2 means the main brushes cannot turn. This is usually because of hair. Open the roller cage. Remove the rollers and clean them. Put them back in place now. This fixes it. Error 6 means the cliff sensors are dirty. Wipe them as we discussed before. Error 8 means the dustbin is full or clogged. Clean the bin and filter to solve this. Suction will return. Error 9 means the bumper is stuck. Give it a gentle tap to clear dirt. The table below lists these codes and fixes. Use it to help your robot today. Most fixes are simple.
| Error Code | What It Means | How to Fix It |
|---|---|---|
| Error 1 | Wheel is stuck or hanging down | Move to flat ground and press Clean |
| Error 2 | Brushes cannot turn | Remove and clean the main rollers |
| Error 6 | Cliff sensors are dirty | Wipe the plastic sensor windows |
| Error 8 | Dustbin is full or clogged | Empty bin and clean the filter |
| Error 9 | Bumper is stuck | Tap the bumper to clear dirt |
| Error 14 | Bin not detected | Reinstall bin and clean metal contacts |
Pros and Cons of DIY Roomba Troubleshooting
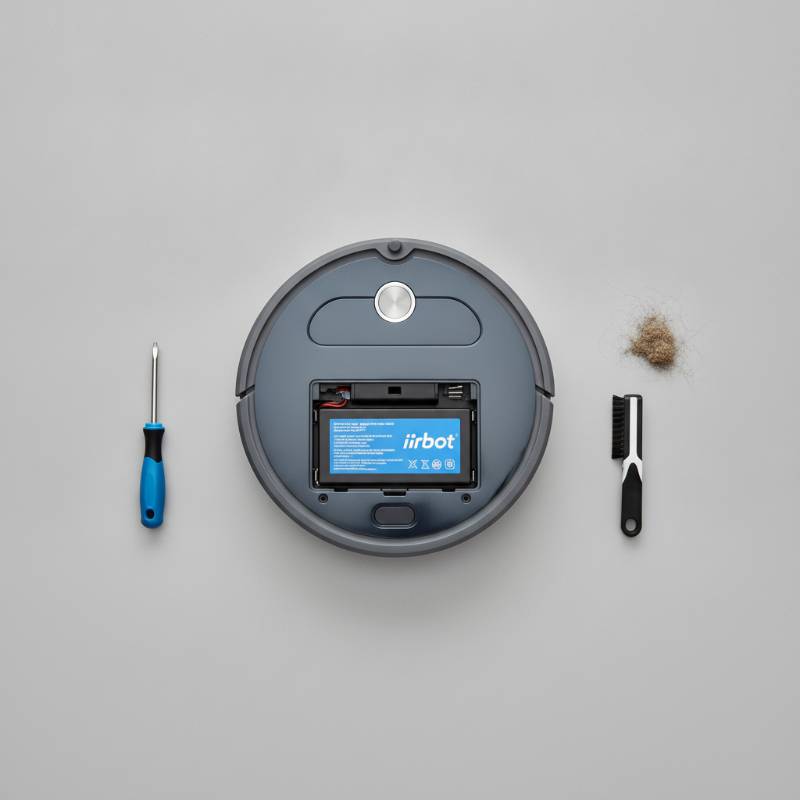
Fixing your robot at home has good points. First, it saves you a lot of money. You do not need to pay a repair shop. Most cleaning tasks are very easy. You can do them yourself. It also saves you time. You do not have to pack up your robot. You do not have to ship it away. Most fixes take less than ten minutes. Your home stays clean. This is great. There are some bad points to DIY repair. If you are not careful, you might damage it. You might also void your warranty. Always check your warranty status before opening the body. Be very careful. Some issues are also too hard for home fixes. If the main circuit board is broken, stop. You cannot fix it easily at home. In these cases, you must contact professional support. They can help you. Use common sense when doing repairs. If a part does not fit, do not force it. Buy real replacement parts to keep it safe. This keeps your device working for many years. It is smart.
Final Verdict and Maintenance Tips
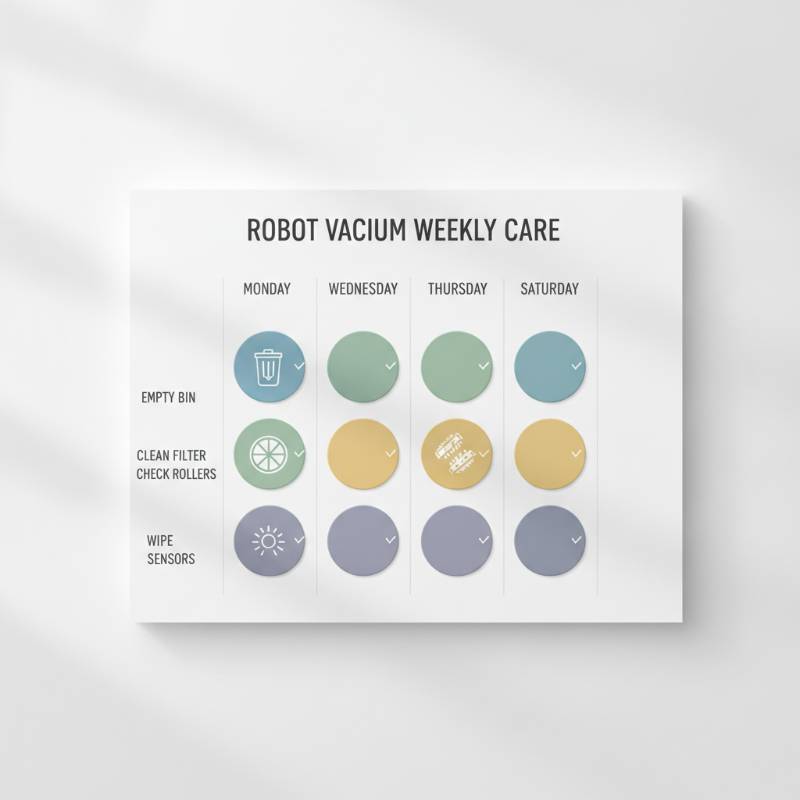
Keeping your smart vacuum clean is the best way. Regular care prevents most common problems. It also extends the life of the battery. It helps the internal motors last longer. Clean it often. I recommend cleaning your robot once a week. Empty the dustbin, wipe the sensors, and clean brushes. This simple routine will stop most common error codes. It keeps your robot running well. If your vacuum does stop, do not panic. Use the steps in this guide to find it. Most of the time, a quick clean works. It will fix the issue easily at home. This is great. Now you can enjoy a clean home. Your robot is ready to sweep up dust again. Happy cleaning to you and your smart companion today! Your floors will look great.
Frequently Asked Questions
Why won’t my Roomba charge?
Clean the metal contacts on the robot and dock. Use a dry microfiber cloth to wipe away dust and dirt. Make sure the dock sits on a flat, hard floor.
How do I reset my iRobot Roomba?
For newer models like the i7, press and hold the Clean button for twenty seconds. The light ring will spin. This reboot clears out minor software bugs and errors easily.
Why is my Roomba spinning in circles?
This usually means the cliff sensors are dirty or a wheel is stuck. Turn the robot over and wipe the sensor windows. Check the wheels for tangled hair and debris.